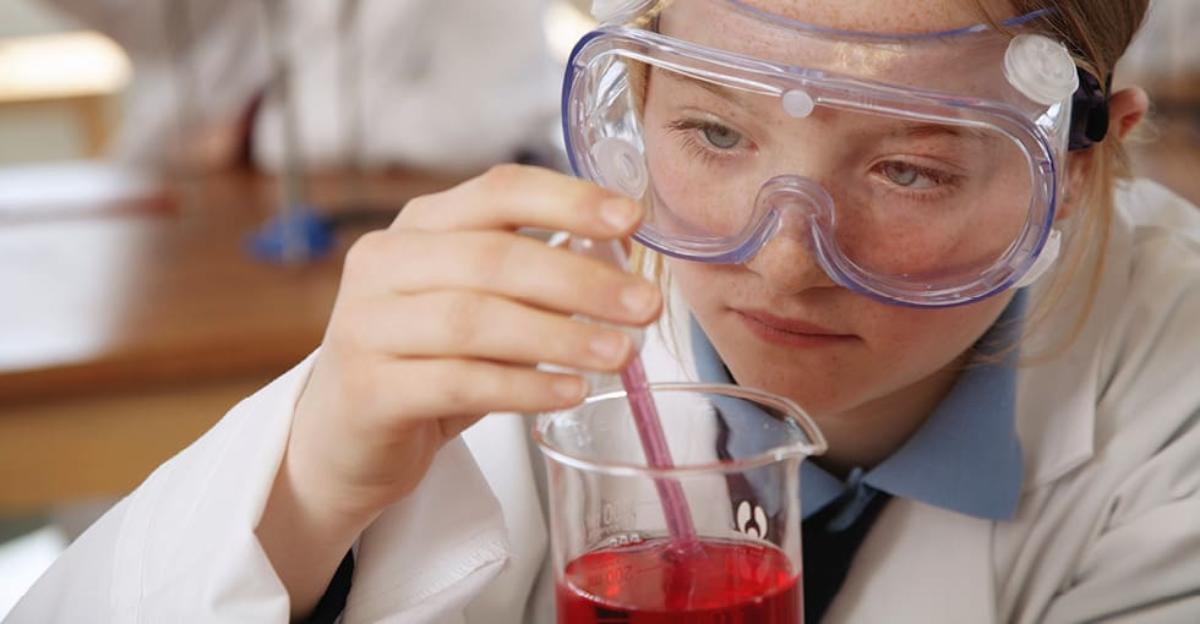
**Always follow your laboratory safety procedures!
1. When the Penny Drops
Age group: elementary and up
You need:
- Pennies
- Water
- Droppers
The first of our experiments is the simplest, and one of the most fascinating for students. Place a penny on a flat surface and record the number of water drops that can be added to the top of the penny before the water spills over. The dome formed by the water is a great segue into surface tension, polarity, cohesion and adhesion. If you plan on doing this mini-experiment with multiple classes, be sure to dry the pennies off entirely, or the result will be disappointing!
2. In for a Penny…
Age group: late elementary and up
You need:
- Pennies
- Mass scales
- Water and graduated cylinders (or rulers!)
Gather a large number of pennies from the same era, calculate their mass, and use the displacement of water in a graduated cylinder to calculate their volume. Since pre-1982 pennies were made of copper, while post-1982 pennies are made of zinc with copper plating, their densities should vary significantly.
You can choose to give different sets of pennies to different groups and ask them to compare their findings. This can help younger students learn critical thinking, inquiry skills, and the basics of measurement, and introduce or reinforce the concept of density. Bring in more advanced math by having students stack their pennies and calculate the volume of their pennies by using the formula for volume of a cylinder, or use the standard densities of copper and zinc to calculate percent error.
3. Penny Dreadful
Age group: late elementary and up
You need:
- Pennies
- 1/4 cup vinegar
- A spoonful of table salt
- Water
Add the vinegar and salt to the water, stir until the salt has dissolved, and then add your pennies (pre-1982 will work best). If you are working in the classroom, get the lab started right away and then have your students do other work while they wait. After about twenty minutes, place the now-brightened pennies on a paper towel without drying them off, and take a look at them the next day.
The copper will combine with the chlorine from the table salt and oxygen from the air, resulting in a store of greenish coins that look like they have been at the bottom of the ocean for centuries! This is a great way to discuss anything from chemical versus physical changes to stoichiometry.
Bonus: A Pretty Penny
Age group: advanced, high school and up
You need:
- Pennies (pre-1982)
- Zinc, powdered (or galvanized nails)
- 6-M Sodium hydroxide (or Drano, or zinc chloride solution)
- A Bunsen burner setup or a hotplate
- An evaporating dish
- Tongs
- A small beaker filled with distilled water
This lab is more advanced, but is great fun and gives your students something to take home. Only pre-1982 pennies will work, since they were made of pure copper. Clean pennies are best; if necessary, use a little vinegar or other weak acid in a bath overnight to clean them off.
Add distilled water to your evaporating dish and then put in a few pinches of zinc powder. Finally, drop in a few crystals of solid (6-M) NaOH and heat until boiling.
Turn your Bunsen Burner to low and slide your penny into the mixture. You will get a zinc-plated penny! Once the penny has turned completely silver, use the tongs to remove it from the dish, and drop it into the beaker of water to cool.
You can then heat the penny over the flame of the Bunsen burner or place it on a hotplate at its lowest setting, which will turn the penny a gold color, as the zinc and the copper mix to produce brass. This lab can introduce alloys, metals, or redox reactions, and reinforce that some physical changes (such as forming an alloy!) CAN produce a color change.


Leave a Reply