Art, by nature, is generally a solitary endeavor. Luckily, there are several projects that can bring students together, working collaboratively. Requiring teamwork, compromise, and mutual respect, collaborative projects are proof that the sum is greater than the parts. Why not go big with a collaborative mural? With a bit of planning, creativity and perseverance, you and your class can create a lasting piece of art to brighten your community, school, or classroom. Get started by answering to the questions below.
Who Will Be Painting Your Mural?
Will your mural be a class project? Something for the entire grade to work on together? Or perhaps the entire school? The number of students and their ages and artistic abilities will dictate the type and location of mural you’ll be able to create.
Where Will You Paint Your Mural?
Will your students be painting the wall of a local business? Your city may be more open to public art than you realize—contact your local City Hall to discuss the options. Or perhaps a wall on campus? Pitch your principal on providing an annual art wall that you repaint with each class every year. If a public space isn’t available, don’t worry. There are canvas murals and easels that work just as well, and you can design and display them in the classroom, cafeteria, entrance hallway, wherever!
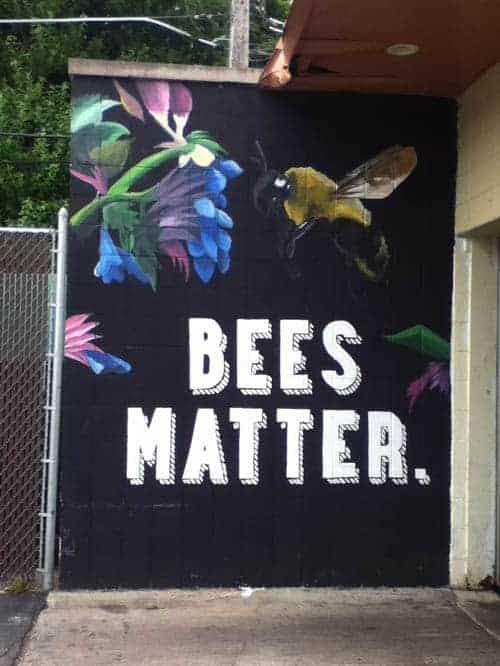
What Will You Paint on Your Mural?
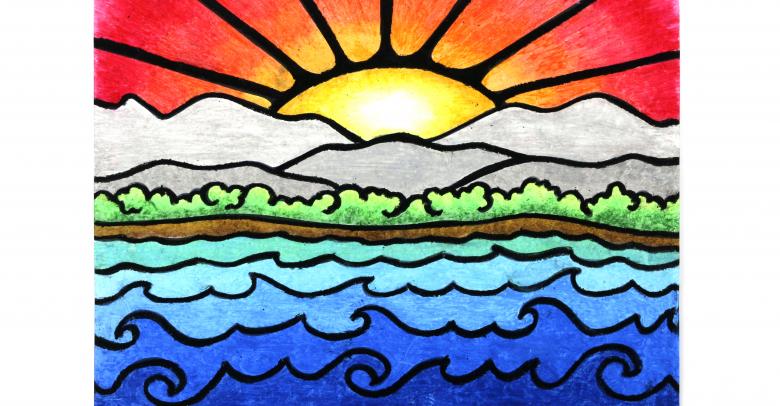
This is the million-dollar question. Brainstorm possible themes with your artists, preferably subjects that tie into your location. Once you’ve selected a theme, discuss a scene that might depict that theme well. Then start a long list of objects that might be included in that scene.
What Supplies Will You Need for Your Mural?
Depending on your location, you may need a mural canvas and easel. Regardless of where you’re painting, you’ll need the following supplies:
- Gesso—If your canvas is not primed, you’ll need to prime it before painting your mural.
- Paint
- Brushes
- Rollers and pans
- Paint Cups – to carry around paint
- Drop cloths—Don’t forget something to weight them down (bricks work well).
Tips for Painting Your Mural
Once you’ve secured your location, artists, and supplies, and determined your theme and basic scene, follow these tips to make painting your mural fun and easy:
- Using the list of objects you brainstormed with your artists, rough out your scene on a whiteboard or paper first, arranging and rearranging various objects until everything looks balanced.
- Photograph your final layout and print several 8×10 copies. Draw two lines segmenting your layout into quarters and assign your students various pieces. Have them practice sketching their individual pieces.
- Prime your canvas before you begin and allow it to dry completely. This will make your mural space smoother and more receptive to paint and require less paint to cover.
- Sketch your scene onto your space before painting.
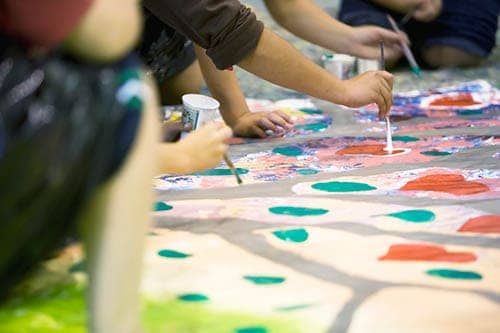
- Begin painting the background first, then move forward. If you don’t have access to an easel, it may be just as easy to find a large open space, place the canvas flat on the floor and paint while kneeling.
Once it’s complete, and even if you’ve been working on it in public for several weeks or even months, you’ll want to plan a big reveal! Invite the members of the community where you’ve been painting—students, teachers, faculty, and families at school or members of your local government and community—to an “unveiling” to celebrate the hard work you and your students have put into adding a little color and a lot of creativity to the space.
Have you created a mural? Do you have any tips? Let us know in the comments below.


Leave a Reply