Whether your students have just completed a successful one-class project you’d like to protect or you’ve finally finished a year-long masterpiece in your studio, you can’t forget the varnish.
What is a Varnish?
Different from the mediums detailed in Acrylic Mediums 101, varnishes are a finishing step, applied upon completion of a piece. Varnishes serve two basic purposes. First, varnishes even out your painting, ensuring that the entire piece is either glossy or matte. Second, a varnish provides a protective layer that traps dust and dirt over time, protecting your piece and actually enabling you to clean it later, by removing the dirty layer of varnish and applying a new layer.
Three Types of Varnish for Art Projects
We’re going to review three basic types of varnish in this post to help you choose the one that’s right for your specific projects:
Tempera Matte Varnish
Tempera Matte Varnish creates an even, matte finish, with little to no reflective quality

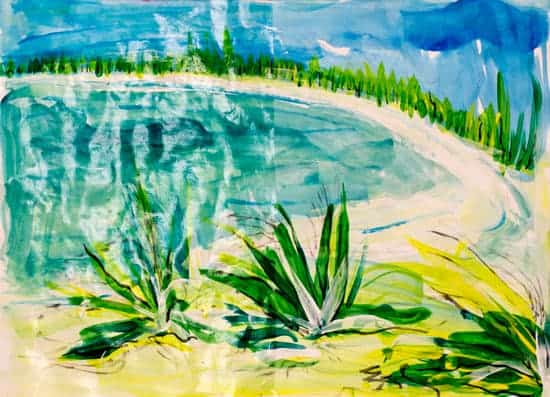
Matte varnish on left side of painting
Tempera Gloss Varnish
Tempera Gloss Varnish can brighten, deepen, and protect the colors in pieces created with crayons, markers, collage materials, colored pencils, oil pastels, pen and ink, plaster, papier-mache, and more. A gloss finish can create quite a bit of reflection.

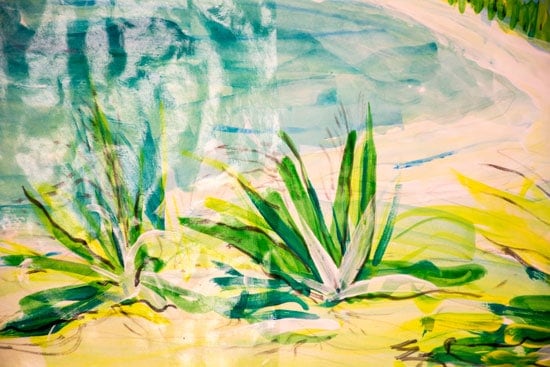
Gloss varnish on left side of painting
Watercolor Varnish
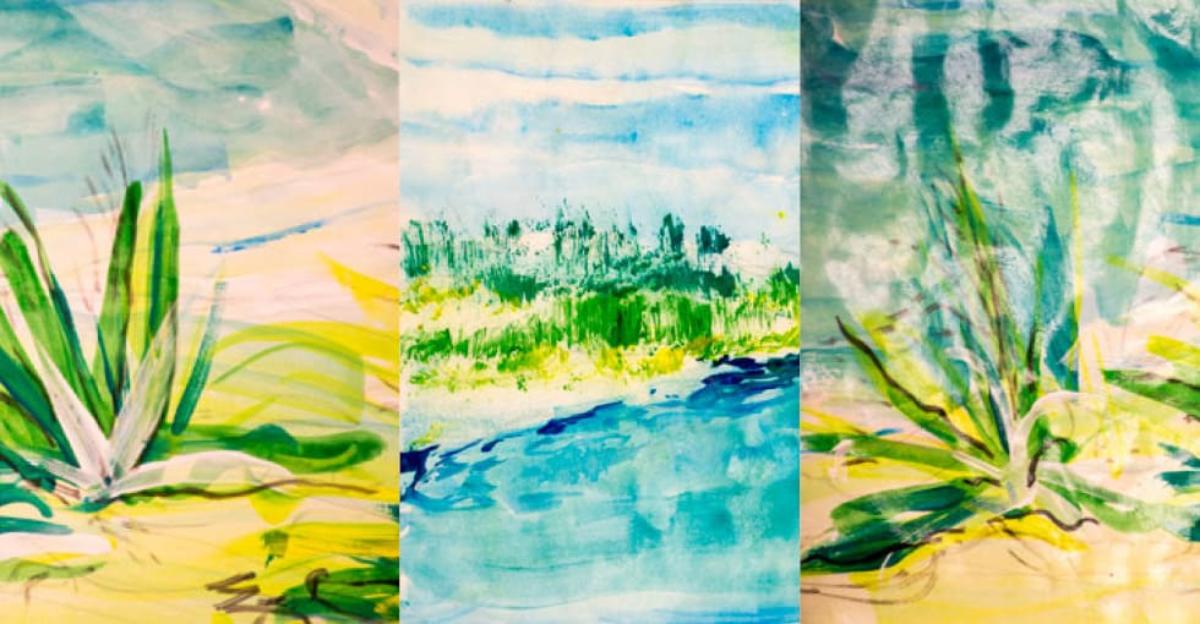
Watercolor Varnish adds high gloss sheen to watercolor paintings without spreading colors and provides a protective barrier to protect watercolor paintings.

Applying Varnish to a Paint Project
Once you’ve chosen your varnish, there are a few simple steps to follow in order to apply it properly. Once your painting is completely dry:
- Pick a clean, dust-free spot to apply your varnish. Make sure you’ve got plenty of ventilation and enough room to work on your pieces horizontally, not vertically.
- Using a clean, dedicated varnishing brush, dip into your well-stirred varnish and apply a first, thin coat of varnish using long, even strokes, and working from the top of your piece to the bottom. Avoid varnishing areas you’ve already varnished, until the next coat.
- Tent your piece to protect it from dust and dirt and allow the varnish to dry for at least 24 hours.
- Repeat steps 2 and 3, applying two or three coats. Apply each new coat in the opposite direction as the last (side to side/top to bottom).
Do you complete your paintings with a coat of varnish? Let us know in the comments below.
More Art Project Tips & Ideas
Looking for more project tips and ideas? Check out the Art & Crafts category on our blog! We’ve got lesson plans, craft project ideas, and tips and tricks. Visit the page and get inspired!


Leave a Reply