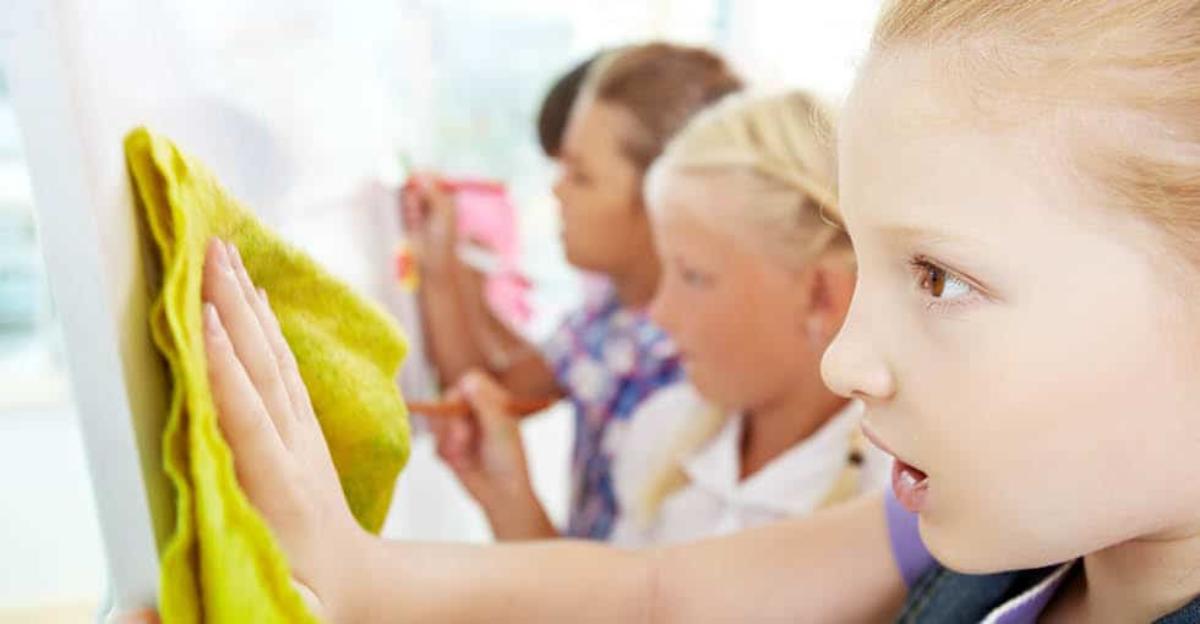
It’s tough to feel like you’re getting a fresh start with a clean classroom when you can still read last week’s notes on your wiped off whiteboard. Stains from writing left up for a long time can be tricky to remove with a standard eraser. Follow these steps to have your whiteboard looking fresh and clean in no time.
Shop Whiteboard Markers & Supplies
How to Clean a Dirty Classroom Whiteboard
You’ll need:
- Clean paper towels or tissues
- Rubbing alcohol (the higher 90-99% formulas work best)
Step 1: Try to remove as much of the writing from the whiteboard as possible before using the rubbing alcohol. This will save you tissues and paper towels, as you will have less of the marker residue to remove.
Step 2: Pour some of the rubbing alcohol onto the tissue or paper towel and immediately begin wiping the board in small sections, switching to a clean issue when the one you’re using becomes dirty. (Rubbing alcohol evaporates quickly, so the board will not stay wet in one place for long)
Step 3: Repeat the process more than once if certain areas have stains that are tougher to remove. Allow the board to dry completely before writing on it again.
If rubbing alcohol isn’t something you have on hand, there are other products that may help to remove stains from a dirty whiteboard.
- Peroxide
- Alcohol-based hand sanitizer
- WD-40
- Hairspray (sticky residue can be removed with water)
- Toothpaste
- Vinegar
Cleaning Dirty Whiteboard Erasers
Wiping down the whiteboard is a start, but what do you do with the erasers that are completely full of ink? Follow these steps to get clean whiteboard erasers to match your fresh and clean whiteboard.
You’ll Need:
- A bucket or bowl (not for food use)
- Dish soap
- Hot water
Step 1: Fill the bottom of the bucket or bowl with soap and hot water (about 1 tablespoon of soap and 1 quart of water). Place the dirty eraser into the water with the inked side down.
Step 2: Soak the dirty eraser in the hot water for 20 minutes (or more).
Step 3: Rinse the eraser under running water using your hands to massage the dirty side until all of the ink is gone (the water is running clear).
Step 4: Allow the erasers to air dry completely before using them. Sunlight or a breeze will help quicken the process.
If removing the ink from the erasers with dish soap was not effective, consider using some toothpaste and scrubbing the dirty side of the eraser to break up the grime. Then follow the same rinsing and complete drying procedure.
More Classroom Cleaning Tips and Tricks
If you’re looking for more useful information and tips for keeping your classroom clean this spring cleaning season, check out the other related blog posts on our site. And stop by our online store to check out the wide range of cleaning, organizing, and fun classroom supplies available.


Leave a Reply