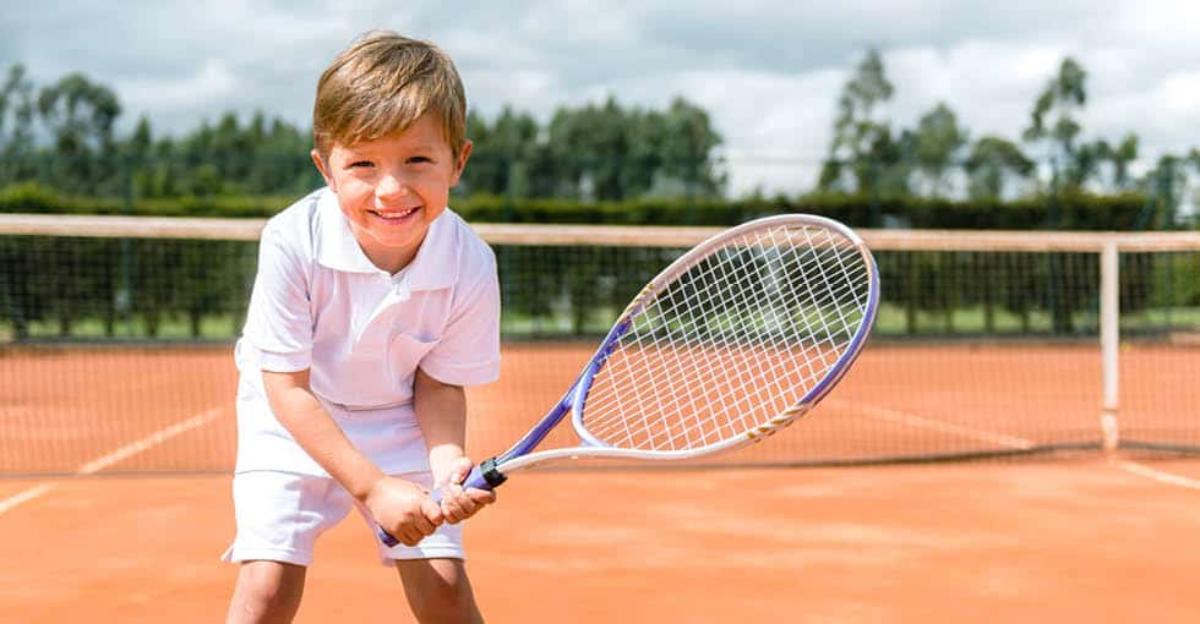
Tennis is one of the most popular sports in the US and is the second-most played sport in the world (behind soccer). The sport had a huge upswing in popularity during the 1970s and 80s in America, and is experiencing another surge now. There are so many great reasons for kids to get involved in tennis that it is definitely worth teaching in PE at any grade level.
Some of the numerous benefits of tennis include:
- Tennis is fun, especially when kids are successful.
- Tennis is a great lifetime sport with lots of programs for all ages.
- There are free tennis courts available in most areas. Aside from a racquet and a few balls, no other equipment is required, making it a very inexpensive sport to pick up.
- Physical benefits include agility, hand-eye coordination, balance, strength and speed.
- Tennis is an aerobic sport, which promotes overall health and wellness.
- Tennis demands a lot of focus and concentration.
- Compared to most other sports, tennis is relatively safe and unlikely to cause injuries.
There are, however, some equipment and facility issues you should consider when teaching a tennis program:
- Will every student have a racquet or paddle? If not, you could instruct half of the students to be feeders while the other half hit, and switch roles every few minutes.
- Is there space for all to play? If not, you’ll want to create stations.
- You should have at least one ball per student, preferably more, and lots of choices when it comes to bounciness, speed and size.
- The USTA and USTA Foundation offer free trainings, curriculum and free/discounted equipment to qualifying schools across the US.
Elementary School (K-5)
Here are a few tips when working with students at the elementary school level:
- Keep the focus on fun and gaining the basic hand-eye coordination skills that will lead to success in any tennis lead-up activities.
- The progression moves from striking with the hand, then with a very short-handled paddle, and then continue with the handle length growing as they become stronger and more skilled. Allow students to choose how quickly they want to move through this progression by offering options at each level.
- When students are first learning the skills, allow them to rally cooperatively rather than competitively, focusing on number of hits in a rally rather than points scored when their partner doesn’t return the ball.
- Offer choices of ball sizes, speed and densities, and allow students to move up the progression at their own pace.
- Create many small courts to enable more students to play and keep the focus on accuracy and control versus strength. Using a regulation tennis court, divide each half into two mini-courts using small, low, portable nets (or cones), cutting down the midline of each side to form four courts per regulation court. If no tennis courts are available, use 4-square courts, or create mini courts around the blacktop/gym using spot markers or tape for boundaries and mini-nets or cones for nets.
- When students are ready for competition, there are several ways to modify play and scoring for this age level: Play games to seven points, switching servers every two points. Switch sides after each game. Serve using forehand stroke (either with or without a bounce). Use Royal Court Tournaments to allow students to play others with a similar skill level.
- Prompt out of school practice at home hitting against a wall.
Here are three lead-up games for the elementary school age group, each with some extensions to add challenge:
Batter Splatter
The object is to practice proper technique for holding a paddle or racquet.
- Hold the paddle with the face perpendicular to the ground.
- Shake hands with the handle.
- Turn the paddle face up with a beanbag or Koosh ball in the center.
- Imagine the beanbag is a pancake on a griddle. Sizzle your pancake, then toss into the air slightly, then catch it back on the paddle. Keep your wrist firm.
- How many catches can you make in a row without dropping the beanbag?
- Can you toss it with one side of the paddle and catch it with the other? How many times can you do that without dropping it?
- Partner Toss: Find a partner. Face each other and both take one giant step back. Using your paddles, can you toss the beanbag back and forth with your partner? Can you catch with both sides of the paddle? How many catches can you both make before the signal?
- Partner Step Back: Play Partner Toss. If you make two catches in a row, each take a small step back and try again! How far back can you and your partner get before the signal?
- Trick Catch: How many ways can you use the paddle to catch the beanbag? Up high? Down low? Behind your back? Between the legs?
Stroke and Catch
The object is to practice forehands for accuracy and control.
- In pairs about 5-10 paces apart, each standing in a hoop or on a spot, each with a paddle and one ball between the pair.
- One of you is a Hitter, the other a Catcher. On signal, Hitters use the forehand stroke to hit to your partner. Swing your paddle from low to high and contact the ball in the center of your paddle. Catchers try to catch their hit, keeping at least one foot in your hoop. Score a point if you catch it with one foot in your hoop.
- Switch roles and the new Hitter hits to the new Catcher.
- Continue hitting and catching at your own pace until the signal.
- How many points can you and your partner make?
- Longer Handles: If you are successful 8/10 times or more, try using a racquet or paddle with a longer handle to increase the difficulty. How far away can you be from your partner and still make the catch?
Paddle 2-Square
The object is to hit the ball back and forth under control with your partner.
- Create a 2-square court (5X5 paces). Place a low net across the middle (or use cones). One pair per court; each player with a paddle and one ball per pair.
- If you are facing a certain way (designate), you serve first.
- Server strikes the ball using a forehand stroke to their partner, who returns it using forehand or backhand stroke.
- Ball may bounce only one time or may be “volleyed” (hit without a bounce). Try to keep a rally going as long as you can.
- Switch servers every three serves.
- How many hits can you and your partner make without a miss?
- Can you hit the ball using both forehand and backhand strokes?
- Hit softly and under control.
- Stay near the back of your square so you can step forward and into the stroke.
- Doubles: Put two courts together and play with a partner 2-on-2. Hit the balls that come on your side of the court, and call any ball that comes to the middle so you don’t both go after it!
Middle School (Grades 6-8)
Here are a few tips when working with students at the Middle School level:
- Continue focusing on fun, but the skills will become more complex. Students age 12-14 will have more strength and hand-eye coordination, so they can get into play a little quicker.
- Allow students to choose their own level, as there will be quite a variety of skill levels at this age.
- As in elementary grades, allow them to rally cooperatively, rather than competitively, at first to practice their skills and warm-up each day.
- Offer choices of ball sizes, speed and densities, and allow students to move up the progression at their own pace.
- Create small courts to enable more students to play and to keep the focus on control as opposed to speed and strength. Take a regulation tennis court and divide each half into mini-courts using a small, low, portable nets (or cones), cutting down the midline of each side to form two courts. If no tennis courts are available, create mini courts around the blacktop or gym, using spot markers or tape for boundaries and mini-nets or cones for nets.
- When students are ready for competition, allow for a few modifications to regulation games. Play games with no-ad scoring to first of four points. Switch servers and sides after each game. Serve using forehand stroke (either with or without a bounce). Use Royal Court Tournaments to allow students to play others similar to their skill level. Play for three minutes or so and on the signal, those who were ahead move up a court and those behind move down a court.
- As students’ skills progress, allow them to choose longer-handled racquets. If courts are available, keep one court at regulation length for some students to practice on.
- Prompt out of school practice at home hitting against a wall or heading to local community courts for more playing time.
Here are three lead-up games for Middle School PE classes after they have been taught all the strokes. Each activity has an extension to make it more challenging:
Serve, Return, Catch
The object is to practice serving and returning a serve.
- This can be played either on a netted court or against a wall in small courts. Students are in pairs, each player with a paddle or racquet and one ball per pair. One pair per court.
- Decide who will serve first. Server serves ball over net or line on the wall. Serve is made with a forehand stroke and from a tossed ball (bounce not allowed).
- Receiver returns the serve over net or line on wall after one bounce. Server catches the returned ball.
- Repeat three times, then switch roles.
- How many times can you get your serve over?
- Serving Strategies: Try adding speed, spin or angle to make it more difficult for your partner to return your serve. Score a point each time they are unable to return.
Call the Shot
The object is to make either a down the line or cross-court shot, depending on your partner’s call.
- This can be played either on a netted court or against a wall in small courts. Students are in pairs, each player with a paddle or racquet and 5-10 balls per pair. One pair per court.
- One player is the Coach who calls either “Down-the-line” (which is a shot made straight ahead of where the hit is made) or “Cross-court” (which is hit at an angle from the point of contact). The other player is the Hitter.
- Coach begins at the net with a bucket or pile of balls. Coach tosses (or if skilled, can gently hit) ball to Hitter all to the same spot on the court while calling the shot. Hitter attempts to hit the ball according to the call. Be sure to give your Hitter enough time after you make the call.
- Coach, try to toss the balls to the same spot each time so there is little variability.
- After 10 shots, switch roles.
- Next round, choose a spot using the opposite stroke (i.e. from forehand to backhand).
- How many shots can you make in the right direction out of 10? Can you get back to the center between each hit?
- On the Move: This time Coach tosses to random spots near the baseline so Hitter has to move to center and be ready to go either way. Switch roles after 10 shots.
Volley Up!
The object is to practice hitting the ball before it bounces (volleying) with a partner.
- This is be played on a netted court. Students are in pairs, each player with a paddle or racquet and one ball per pair. 1-2 pairs per court.
- Begin with all players about 3-5 paces from the net.
- Start play with a gentle hit across the net. Keep the ball high enough so it doesn’t bounce between hits. The pace may get pretty fast, so keep on your toes and get your paddle/racquet back to ready position (in front of your chest) between each hit.
- How many times can you volley the ball in a row?
- Competition Style: After three hits total, it is game on! Try to volley the ball so your opponent(s) are unable to return it. Score a point for each unreturnable ball. How many points can you score before the signal?
Check out Sportime.com for paddles, racquets, all types of balls, and mini-nets!


Leave a Reply