Follow the lead of the masters and get plenty of drawing and painting practice—with a self-portrait! Artists like Khaol, van Gogh, Courbet, and Rembrandt knew that the secret to portraiture was practice, practice, practice. They also knew the most readily available model was the one looking back at them in the mirror. Start your self-portrait study by following the simple steps below.
Choose a Style
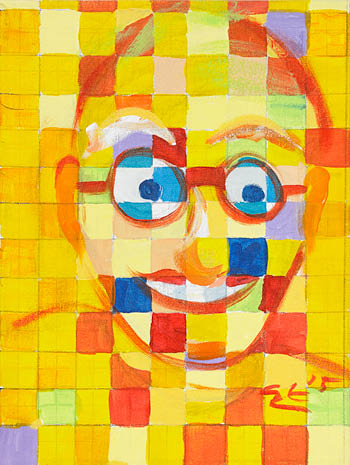
Will you be reproducing yourself in a realistic fashion? Or maybe in an impressionist or cubist style? Consider copying a master’s style, going abstract, creating a caricature, highlighting a single feature, or trying a two-tone or monochromatic piece. Our Chuck Close self-portrait lesson plan might be a fun place to start. No matter the artistic style you select, be honest and real and let your true self shine through your work.
Determine Your Source Material
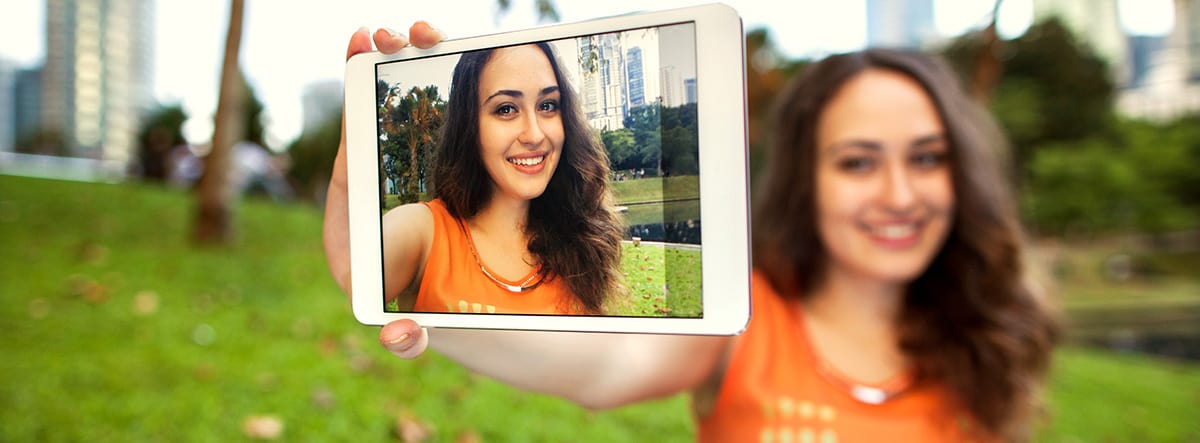
Will you work from a photograph of yourself or in real-time with a mirror? If you’re working from a mirror, we suggest using two, one in front and one to the side, for a nice, three-quarter view. Either way, pay attention to your lighting. A light just behind and to one side of your head creates a nice shadow and contrast for a portrait.
Before you take your photo or set up your mirrors, you’ll need to compose your portrait, keeping in mind the rules of design and composition. Will you be wearing any accessories? Sitting at a table? Standing in front of a window? Will there be any other objects in your portrait?
Set Up Supplies
Gather the supplies you’ll need. Remember to prepare lots of neutral colors for skin tone variations. Place your photo or mirrors where you can see them easily without craning around your canvas.
Start With a Thumbnail Sketch
Quickly block out the shapes you see and add rough shading to indicate shadow and light. You may need to create several thumbnails to get the scale just right.
When it’s time to begin, don’t forget the rules of drawing faces and hands, namely:
- The eyes begin halfway between the chin and the top of the head
- There is roughly one eye length between the eyes
- The edges of the mouth should align with the center of the pupils
- The tops of the ears are on the same horizontal plane as the eyebrows
- The bottoms of the ears reach just below the bottom of the nose
- The tip of the nose is halfway between the chin and the brow line
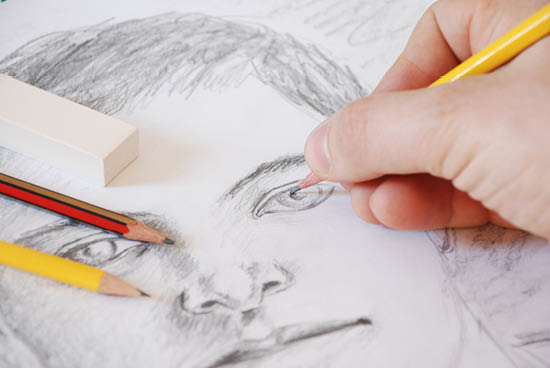
Once your self-portrait is finished, take a moment to reflect on the piece and critique it as you would any other. Then repeat. And repeat. And repeat. Try capturing different expressions, moods, and compositions. Paint your face from both sides. Try a full-body portrait or just a headshot. Work in oil, watercolor, acrylic, and pencil. You’ll end up not only with an amazing study in self-portraits but also with vastly improved artistic skills.
Have you tried self-portraits with your students? Share any tips and tricks or fun ideas for unique self-portrait styles in the comments below.

Leave a Reply