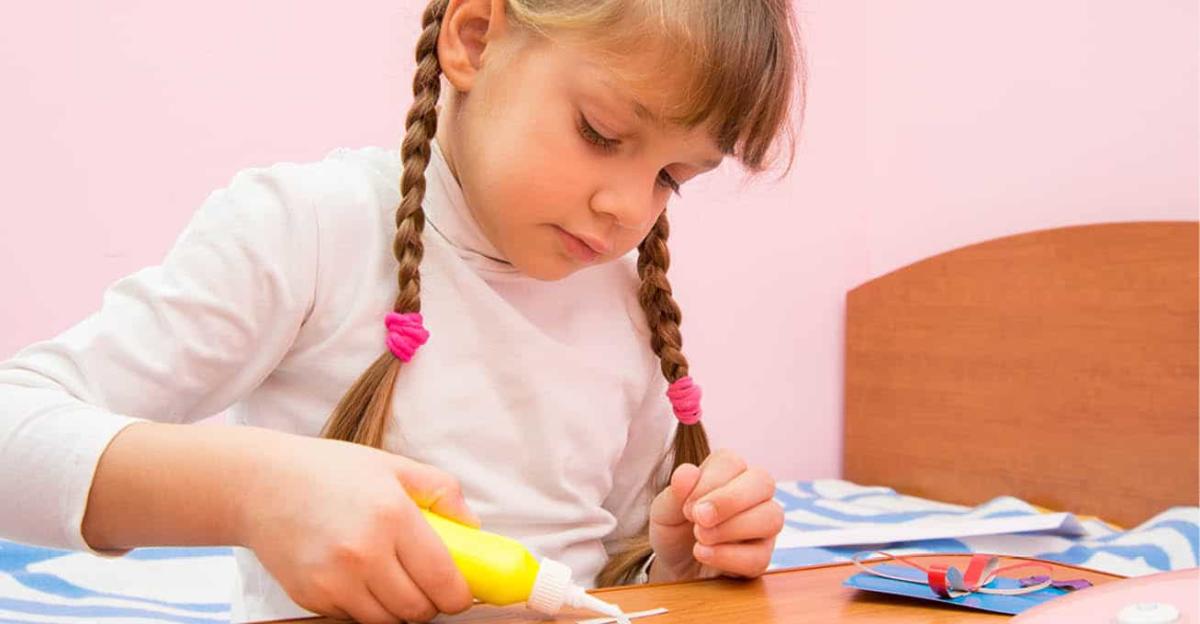
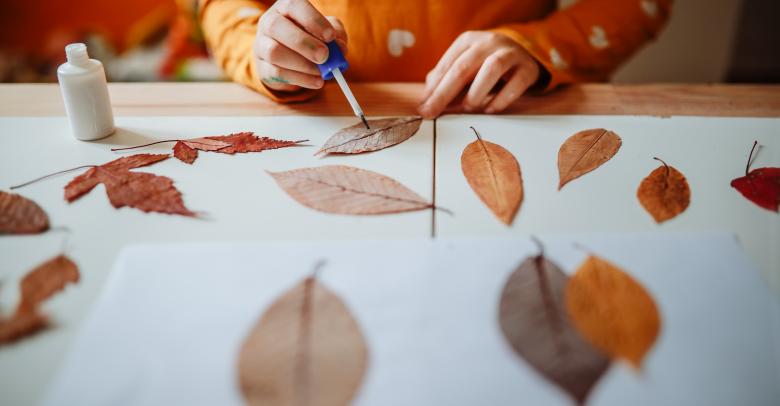
While most of the nation is still dealing with winter and the end of the school year seems far away, you may want to start planning your big end of the school year art project. Create a one of a kind journal with your class that commemorates things that you do in class, field trips you took, and fun activities in which you all participated. This project combines multiple art techniques with a keepsake that parents and students will treasure for years to come. Plan to complete an art project each week to fill the journal with fun memories before the end of the year.
Create the Journal
Practice bookmaking by making a hand-made journal. Of course you could buy journals for the class, but it is much more fun to make one. To make it a journal, you will need craft construction paper or art board, yarn or tough string, a needle with an extra large eye, an awl or punch, and large sheets of watercolor paper (11 x 17). Cut the craft paper to the same dimensions as the watercolor paper. Each journal will have twice as many pages as the number of sheets of paper used. Six or eight sheets of craft paper will give a journal that has enough space for many weeks of projects.
Fold the large sheet of watercolor paper in half. This will be the front and back covers of the journal. Allow the students to embellish the journal cover in whatever way they want. Each student should include their name on the front cover so everyone can easily keep track of their work. Remind the kids that the cover doesn’t have to have a picture as its theme. Patterns, random designs, and bold washes of color allow students to express their creativity even if painting or drawing isn’t the student’s forte. If you’re feeling especially adventurous, open up the classroom art supplies and let the kids create an interesting mixed media project featuring beads, glitter, buttons, yarn, paints, pastels, markers, or anything else.
After the covers are completely dry, stack the pieces of craft paper on top of the watercolor papers. Fold them all in half, and use the awl to pierce the papers in three or four places along the crease in the center of the pages. Use the string or yarn and the needle to bind the papers together and tie them securely. Close the book and you’re ready to start filling the journals with memories.
Each week, set aside some class time to make a memory using different art techniques. You can use the things that happened in class to inspire the students. Perhaps the science lesson can inspire an art project featuring plants, flowers, insects, stars, planets or anything else that you studied that week. Maybe you can make word clouds using that week’s spelling words. Illustrate the vocabulary lesson using comics. History, science, reading, poetry, and vocabulary can provide rich inspiration for interesting artwork.
To really make your weekly art journal pop, use a different art technique for each week’s activity. The following techniques will look great in a journal.
- Zentangle
- Collage
- Wax Relief Watercolor
- Typography
- Visual Timeline of what was accomplished each week, including photos of activities
- Scrapbooking
- Three dimensional portraits.
Remember that the craft paper may not be suitable for each type of artwork. That’s okay. Simply create the artwork on a separate sheet of paper (for instance, watercolor paper for watercolor paintings, drawing paper for sketches, etc.) and mount the art in the journal using glue. Completing work on separate paper also allows kids the freedom to make a mistake without “ruining” their journals. They can start over on a new sheet of paper if they mess up.


Leave a Reply