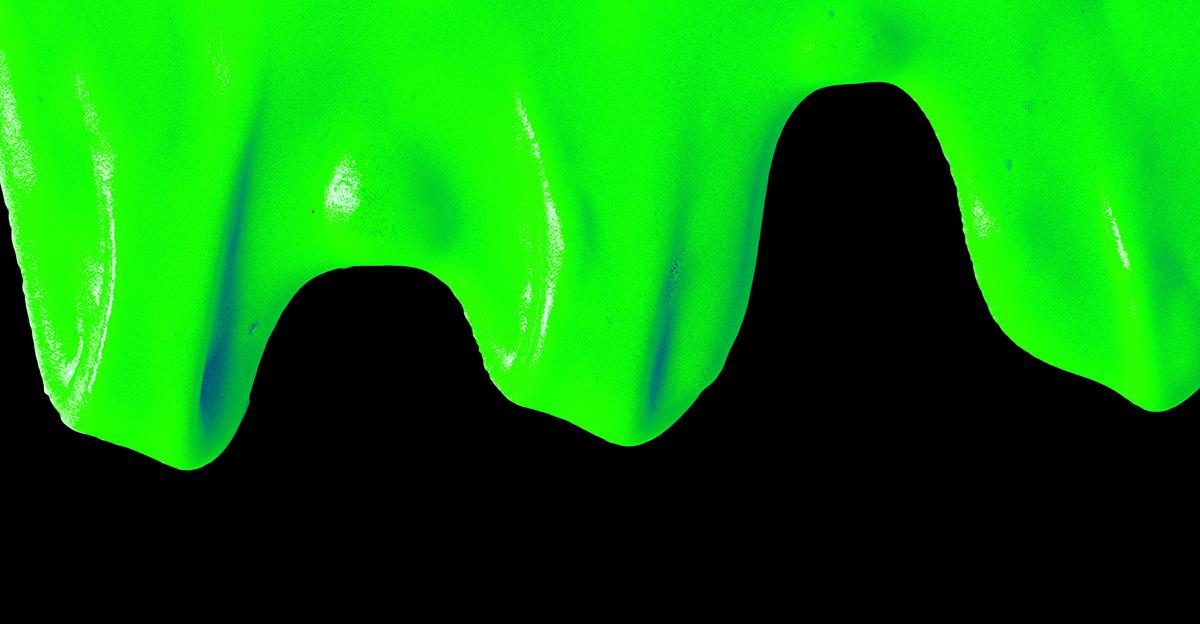
Blame it on Nickelodeon, who brought slime to the forefront of every kid’s imagination. Nevertheless, the sticky, slimy, gooey stuff is here to stay—and with good reason. Not only is it incredibly easy to make, but it does wonders for learning, playing, and gift-giving. Check out these recipes for DIY slime and learn how you can use each one in the classroom.
DIY Heat-Sensitive, Color-Changing Slime
Thermochromic (heat-sensitive) slime is a perfect accompaniment to a science classroom or any classroom where students are encouraged to experiment to find ways to make the slime change color. Suggestions include spinning it like a jump rope, breathing on it, and wrapping it around cold soda cans or hot coffee mugs.
Recipe
- 1 tablespoon water
- 3 teaspoons thermochromic pigment
- 1/4 cup white school glue
- 1/4 cup liquid starch
- Non-toxic, washable tempera paint
- Cups and craft sticks for mixing
Instructions
Select a color scheme for your DIY slime. The color of thermochromic pigment will be the color of your slime when it is cold. Then choose an alternating color of the tempera paint for the hot color. Think of color wheel neighbors to make the transition smooth. Some options include:
- Blue pigment with yellow paint (Slime is teal and turns yellow when hot).
- Red pigment with yellow paint (Slime is orange-red and turns yellow when hot).
- Blue pigment with red paint (slime is purple and turns pink when hot).
Pour 1/4 cup glue into a large measuring cup or bowl. Add 1 tablespoon water and stir until blended well. Add 5 drops of colored paint and mix well. Then add 3 teaspoons of thermochromic pigment and mix.
Add 1/8 cup liquid starch and mix until thick and slimy. Knead and return to the starch mixture for another mixing. If the slime is still sticky, add additional starch and knead until it isn’t sticky anymore.
Store slime in a glass or plastic container with a lid for up to one month.
Read More: Teaching Science with Slime
Nebula Slime
When you’re ready to teach students about the wonders of space, look no further than this nebula slime inspired by a NASA post of the “crab nebula.” It’s a great gift when paired with constellation jars or galaxy glow jars, and it makes a terrific rainy-day activity.
Recipe
- 5 ounces of clear school glue
- ½ teaspoon borax, liquid starch, or laundry powder detergent
- 1 cup plus 1 tablespoon of warm water
- Tempera paints (pink, blue, purple, black)
- Cups and craft sticks for mixing
- Glitter
- Optional beads
Instructions
Pour glue into a cup, add the tablespoon of water and tempera paints, and mix well with the craft stick. Add powder detergent, borax, or liquid starch to the remaining cup of water and mix.
Combine the mixtures and stir until it’s difficult to stir with the stick, then remove it from the water and start kneading with your hands until it’s no longer sticky.
Store in a plastic bag in the refrigerator.
Repeat three more times to make each of the colors. Braid colors together when finished.
Glow Slime
What’s better than DIY slime? DIY glowing slime, of course! Whether you want to bring the kids’ sensory stimulation down by dimming the lights and watching this glow or want to teach about the properties that make things glow, this is a great solution. Gross Science from PBS has a great video that teaches students how to make glow-in-the-dark slime with common household items and teaches about polymers. Here is a slightly modified recipe:
Recipe
- 2 teaspoons borax (or liquid starch, if preferred)
- 2 tablespoons glow-in-the-dark paint
- 1/2 cup white glue
- 1 cup hot water
- Two bowls for mixing
- Measuring spoons (tablespoon and teaspoon)
- Measuring cups
- Light source
Instructions
Mix 1/2 cup of glue and 2 tablespoons of glow-in-the-dark paint with 2/3 cup hot water. The slime will be less clumpy if you mix this up really well and don’t leave any glue globs.
In a separate bowl, dissolve two teaspoons of borax or liquid starch in 1/3 cup of hot water and mix well (if using borax, mix until there are as few crystals left as possible).
Add 2 tablespoons of borax or liquid starch solution to the glue solution. As you mix these solutions together, the mixture gets thicker. Hold slime under a light source to “charge” it. This is what makes it glow!
Store in a resealable plastic bag or airtight container.
Switch it Up – Experiment with Different Ingredients
Experiment a little by swapping ingredients to get different textures, scents, and consistencies:
- Out of glow-in-the-dark paint? Try fluorescent paint instead. Or soak the felt insides of a highlighter in the water before mixing it with the glue.
- How about “smelly” slime? Remove the guts of a Mr. Sketch marker and squeeze 2-3 drops of color into your glue mixture. You can even use two different markers to customize your scents.
- Want a little texture? Add pony beads or gemstones to your slime.
- Not fond of glitter? Try using glitter glue, glitter paint, or metallic paint to add sparkle to your slime.
There are SO MANY slime recipes on the internet that you could spend hours collecting recipes! What’s your favorite? Let us know in the comments!


Leave a Reply