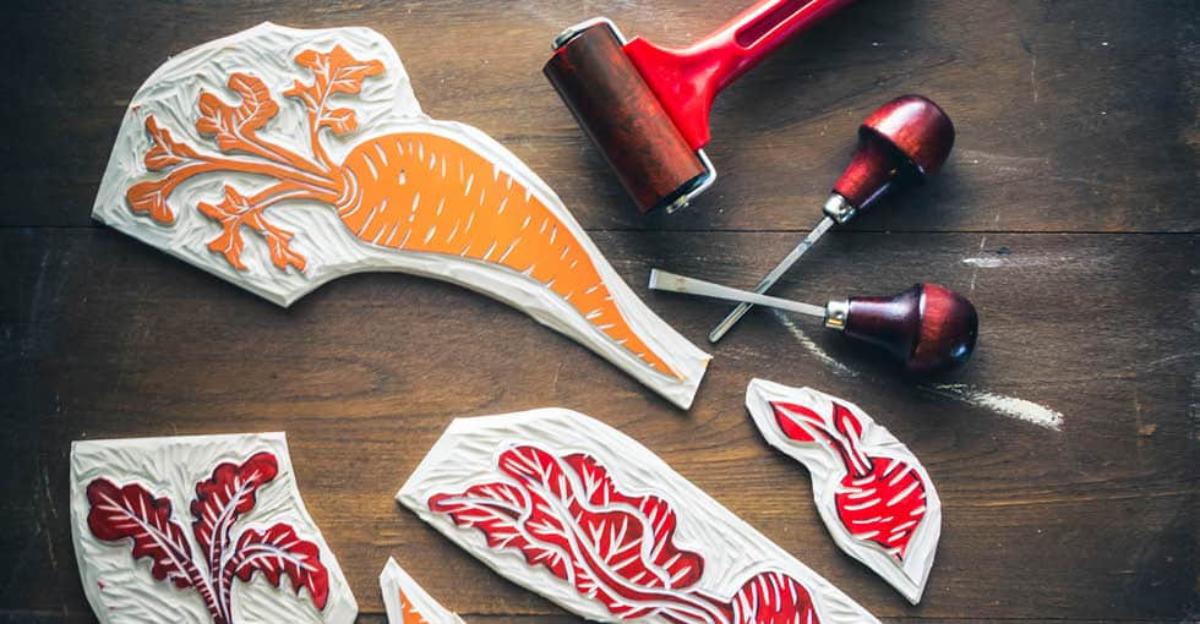
One of the oldest forms of printing, block printing involves covering a carved “block” with ink and then using the inked block to transfer the carved image onto paper or fabric. Also known as relief printing, this method of image transfer dates back to the 5th century.
The block doesn’t have to be, and usually isn’t, an actual block. This technique can be performed with wood, rubber, or other materials, but linoleum is one of the most common surfaces to be carved for block printing.
To Get Started:
1. Sketch your design first onto transfer paper, remembering that a block print will be a mirror image, so you’ll need to reverse any text.
2. Transfer your sketch onto your block by placing the transfer paper, design side up, on your block and tracing the lines of your design to transfer them onto your block. Lift and toss the paper.
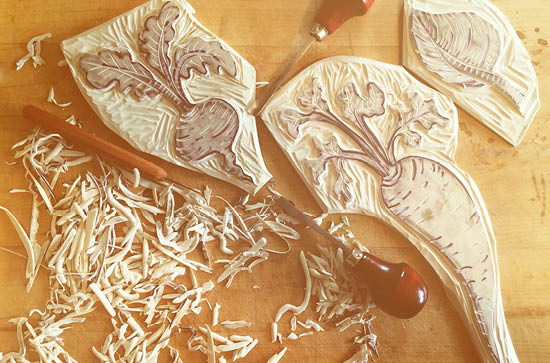
3. Begin carving around the lines you transferred, leaving only your design in relief. Wood and linoleum carving sets typically include varying sizes of gouges and chisels appropriate for carving larger and smaller areas. Take your time and work slowly – one slip can ruin your entire piece.
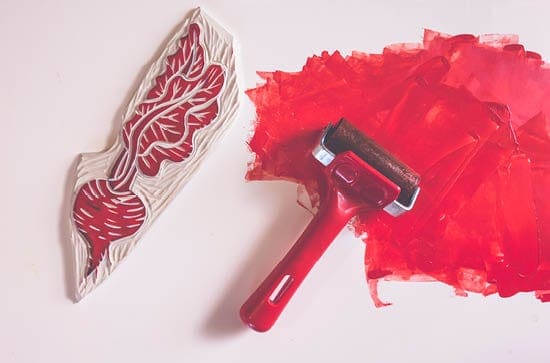
4. When your design is complete, you’re ready to ink. Begin by spreading your ink on a smooth surface, like a piece of glass. Use a brayer, or roller, to spread it evenly on this practice surface and over the brayer, then move the brayer to your block and roll a thin layer of ink over you’re the entire block.
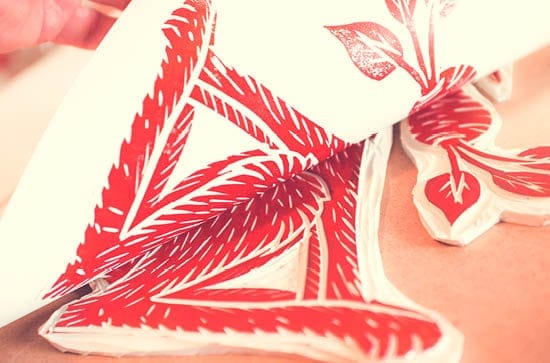
5. Place your paper or piece of fabric on a sturdy, flat surface and carefully lie your block, face-down, on top. Now, press down evenly, all over the block, being careful not to move it. Then lift the block.
6. Allow your paper or fabric to dry completely. Oil-based inks can take days to dry; don’t rush the process.
Congratulations, you’ve created an original block print. Since your block is reusable, you can now print your image over and over again, on a variety of materials. Perfect for printing everything from stationary to posters to material, you’ll find endless uses for your master block.
Have you tried block printing, either on your own or with your class? Do you have any tips to share? Let us know in the comments below.


Leave a Reply