Learning to draw hands is a crucial part of being able to sketch the human form. Hands, along with drawing faces, can be a daunting task, but we’re here to give you a hand with the simple tips below. What are you waiting for? Pick up a pencil and give it a go!
Table of Contents
How to Draw a Hand
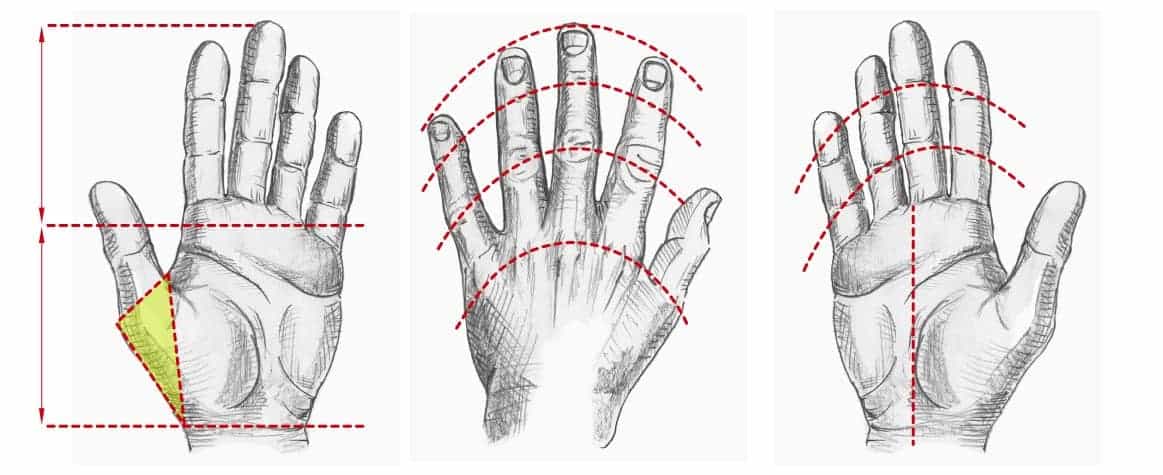
Analyze Your Own Hand
Take a look at your flat hand and note the following:
- The length of the fingers is roughly equal to the length of the palm or back of the hand.
- The middle finger is the highest and forms the top of an arc comprised of the other fingers. All three sets of knuckles and joints follow the same arc.
- The base of the thumb is a triangular shape attached to the side of the palm.
- The palm is distributed evenly on both sides of the middle finger.
Let’s Sketch
Once you’re done with your self-study, it’s time to begin sketching.
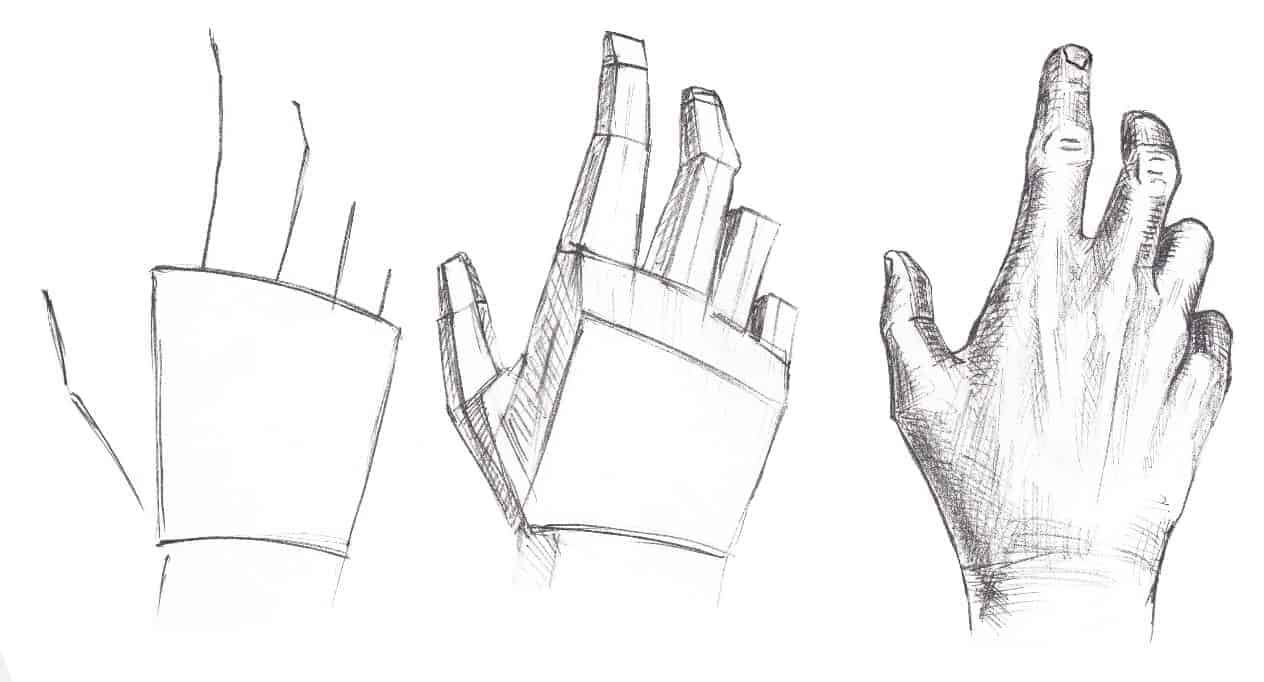
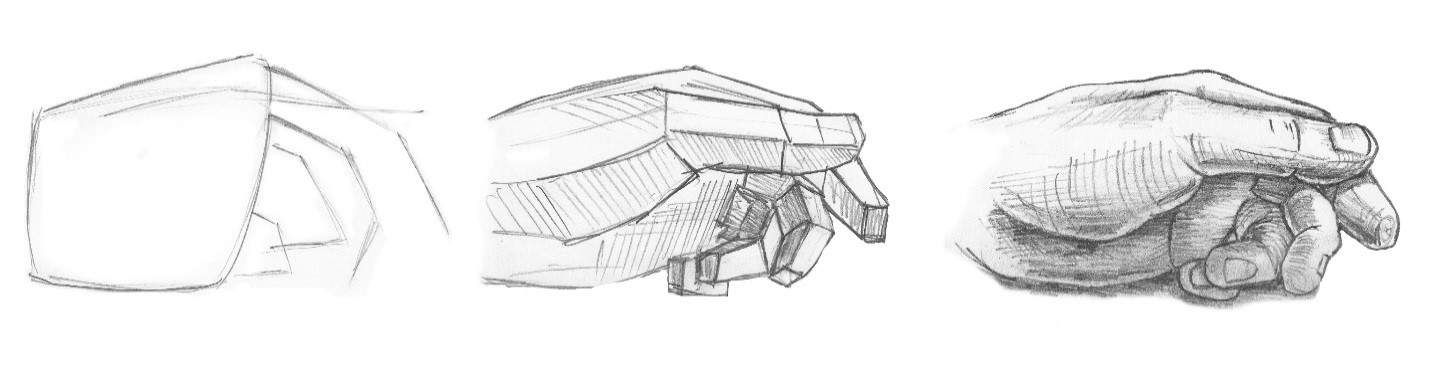
1. Start with a Square
Begin by drawing the general shape of the palm or back of the hand as a square, slightly wider at the top than the bottom.
2. Add Finger Lines
Loosely add lines for the fingers, beginning with the middle fingers and arcing the others down around it.
3. “Box” the Fingers
Give the fingers some dimension by “boxing” them out—remember, fingers are actually more rectangular than circular. Don’t forget to incorporate perspective to show varying distances.
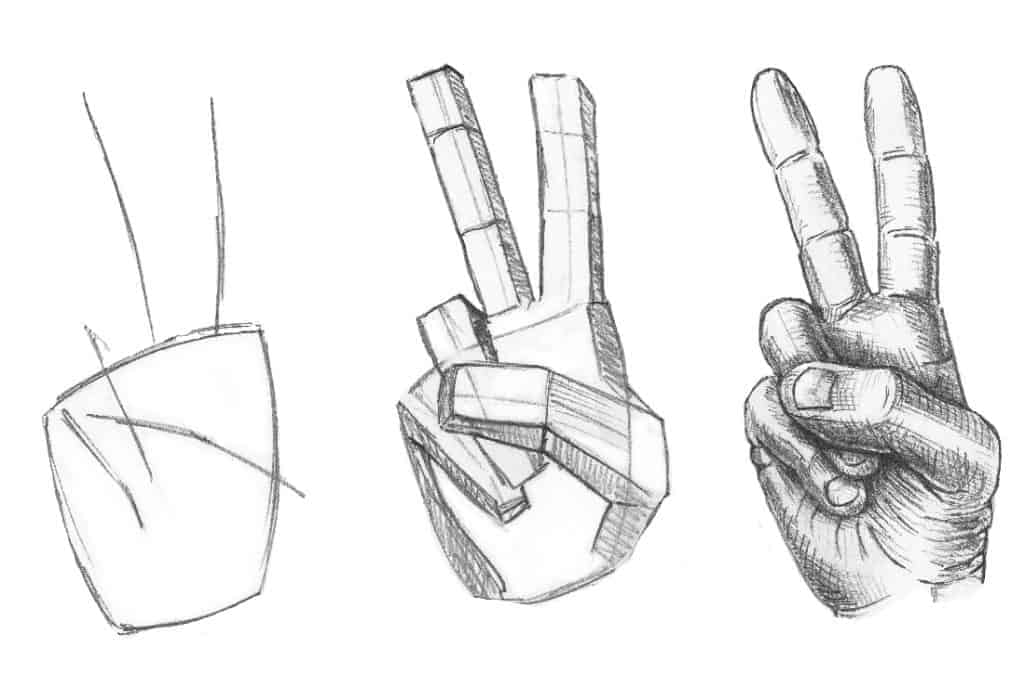
4. Sketch the Thumb
Sketch the triangular base of the thumb on the same side of the palm as the index finger and add the thumb shape.
5. Fill in the Details
Add the finer details, including rounding the fingertips, adding fingernails, and sketching in the knuckle and joint lines.
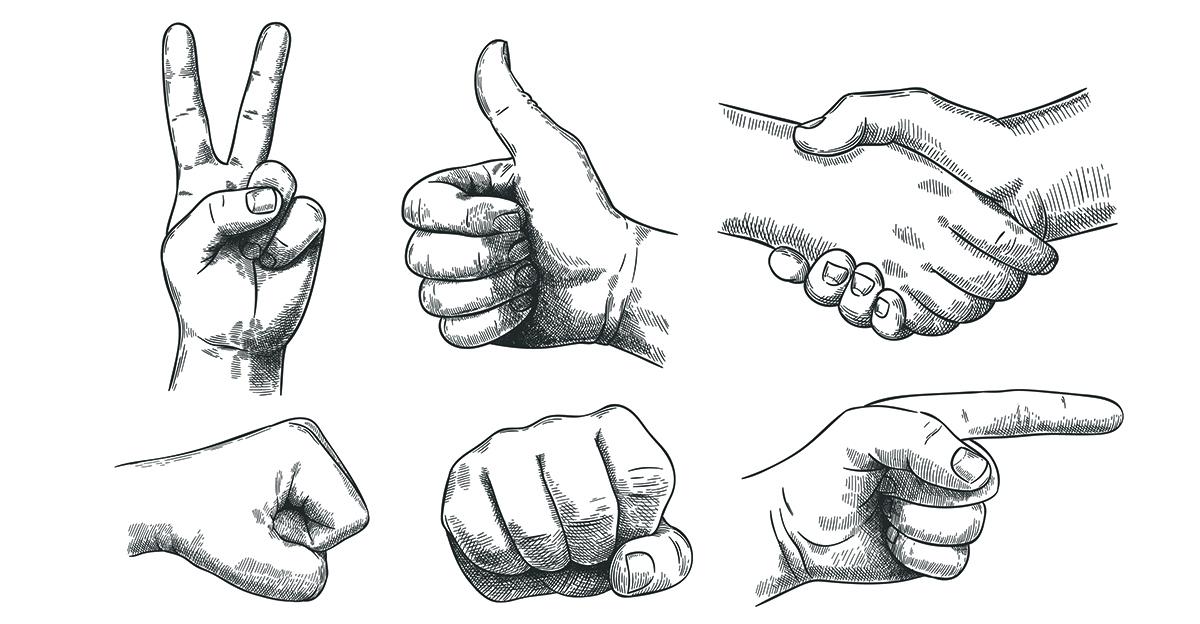
Once students have mastered drawing a basic hand, experiment with different gestures, including holding up one or two fingers or making a fist.
If any students want to take gesture drawing even further, check out our Gesture Drawing 101 article for more tips!
Have you taught your students how to draw hands? Do you have any tips or tricks to share with your fellow art teachers? Let us know in the comments below!
Get Sketching with Tools from School Specialty, Tested and Approved by the Smart Squad


This is really helping me out thanks
i draw simple things ;-;
this helped so much!
This has helped me SO much, im trying out for talented art and I needed to know how to draw a hand and explained it So well!!
We are so happy that we were able to help, Zoey. Good luck with your tryout and let us know how it goes! – Maureen
it didnt work for me
please add videos