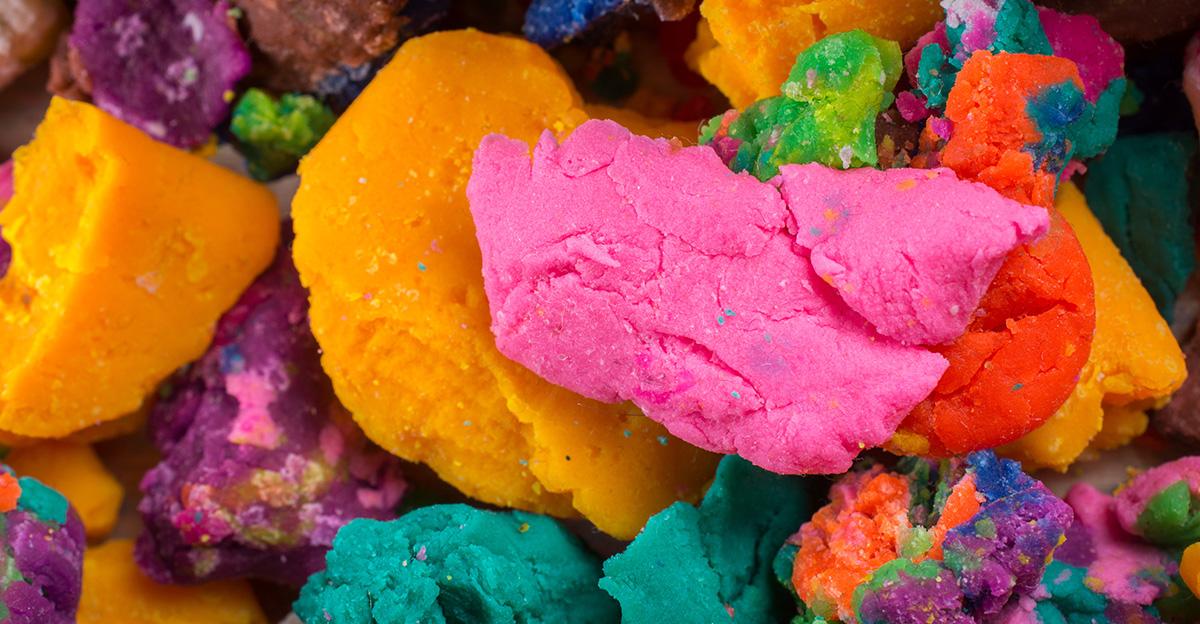
Playdough is a mixture made from salt, flour, and water, and quickly dries out when left outside of a sealed container for very long. Instead of tossing it, take some time to revive, rehydrate, and restore dried playdough. This messy yet fun classic creative outlet can be reused after being left out with just a little time and effort.
Steps for Restoring Dried Playdough
You might think to yourself, “I’ve reminded them to put this away when they’re done,” and you’re probably right. But the dough doesn’t have to be thrown away once it’s dried up a bit. You can still salvage it! Follow these steps to get it back in great shape for playtime.
Step 1: Assess the Damage
Determining how dry the dough has become will tell you how much work it will take to revive it. Playdough that has merely begun to dry on the exterior and is still soft and malleable on the inside can be worked back into shape with just a few drops of water. Simply knead the water into the dough until it returns to its normal state.
If that doesn’t work, try wrapping the dough in a wet paper towel and setting it aside for a few hours. This should allow the moisture to seep into the dough. It might require kneading afterward to absorb any extra water.

If the dough has hardened past this point, you’ll need water and plastic sandwich bags to continue.
Step 2: Break Dried Dough Into Pieces if Necessary
If you have too much dry playdough for a sandwich bag, break up the hardened dough into pieces. This will allow it to absorb water more quickly.
Step 3: Place Dried Pieces in the Bag and Add Water
Place the broken pieces in the bag with a few drops of water to start. You can add more drops of water as you go, but it’s important not to add too much.
Step 4: Massage Dough Until Usable
Knead the water and the dough together, adding a few drops whenever you need. Adding too much water will make the color bleed, so patience is key. Once you’ve given the dough time with the water, it should be good as new!
Looking for Classroom Packs of Playdough and Modeling Dough?
Classroom packs of playdough and modeling dough are a great budget-friendly option. Also, be sure to stop by our Early Childhood blog category page for more tips, ideas, and activities for young learners!


Thank u ever so much for these play doh tips and tricks !!!
We are so glad that you found them helpful! – Maureen
This is fantastic! I had in the past just thrown any hard playdoh away! I can’t get out to buy more today and my daughter is playdoh mad so I just googled to see if there was anyway that hard doh could be revived and here I am. Thank you so much for the great advice!! With love from Glasgow, Scotland, 🏴 🇬🇧
We LOVE that you found this post helpful and that you were able to revive your daughter’s Playdough! Thanks for stopping by and taking the time to leave us a comment. – Maureen