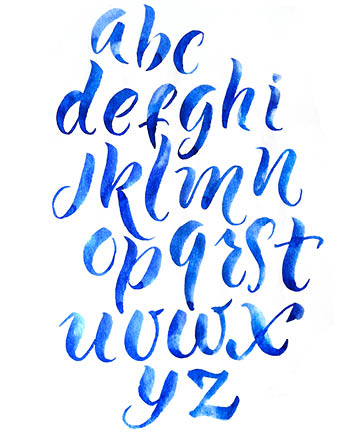
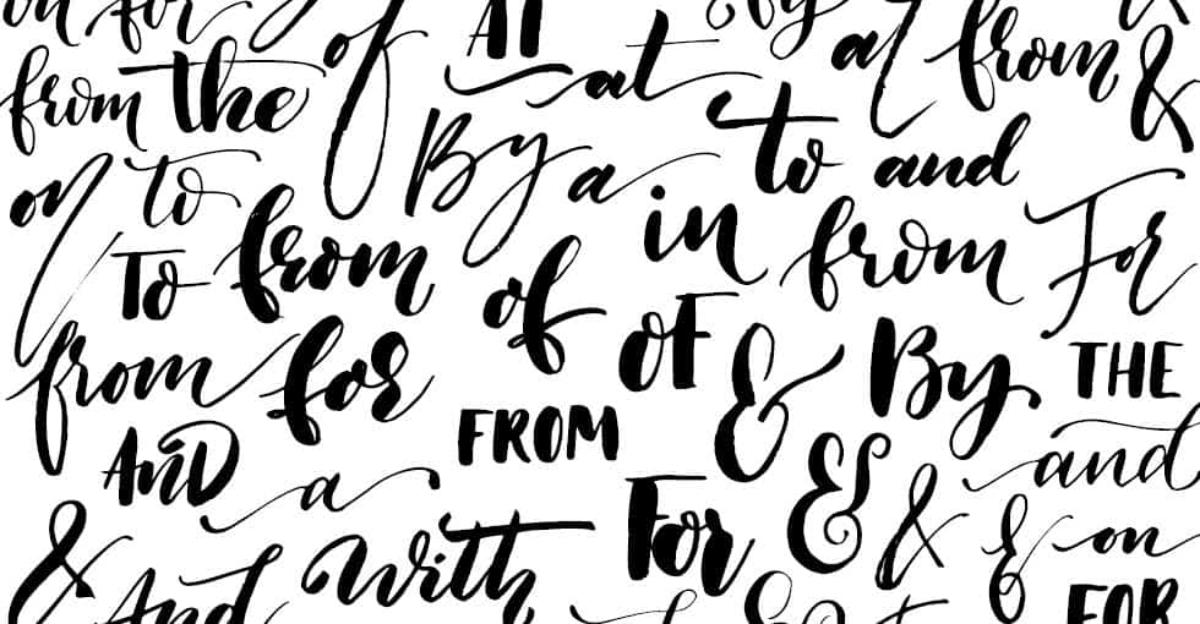
You’ve probably stopped to stare for a moment at the beautiful lettering adorning a sidewalk sandwich board menu or on the walls of your local Starbucks. We’re not talking about the elegant writing technique of calligraphy. We mean those one-of-a-kind, hand drawn letters you see on everything from greeting cards to posters and book covers.
These days, lettering seems to be everywhere. And why not? It’s fun, it’s creative, and it’s definitely an art form you should try both on your own and with your students. Here are some steps to consider when lettering:
1. Determine the word or phrase you’d like to letter.
2. Consider the font you’d like to draw. From serious to fancy, the sky’s the limit when it comes to lettering.
3. Sketch out thumbnails of the design, deciding on the overall shape of the piece, even if it’s simply lettering the alphabet.

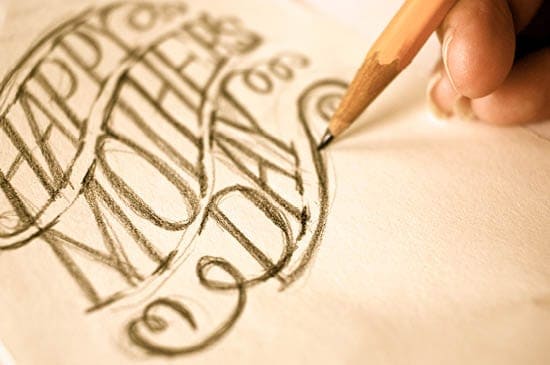
4. After you decide on a concept, using a ruler and sketch or grid paper, measure out the entire area of your design space. Mark your baseline – the line the bottom of each letter will rest on – then lightly measure and mark horizontal lines to designate each letter’s space, ensuring they are spaced evenly.
5. Draw the outline of each letter in pencil to make sure it fits and the spacing looks good. Try overlapping letters for interest. Note: soft-lead pencils are easily smudged. These are denoted with a “B” in its name. For example: 2B (less soft), 6B (more soft), etc.

6. Repeat this process on a higher quality paper or Bristol board (to learn the basics of different art boards, visit our “Art Boards 101” post), perhaps using a mechanical pencil for better precision. Consider the finish of the board and the final material you’ll be using to create the letters – ink can smear on glossy finishes, for example.
7. Add any decorative elements you want around the word or phrase in pencil.

8. Now it’s time to choose your medium. Many letter artists work entirely in pencil, but you might also use brush pens, or thick and thin markers.
9. Covering any letters you’re not working on with paper to prevent smudging, outline your first letter, then fill it in. Repeat until all letters and designs are inked or filled in with your medium of choice.

10. Let dry completely and erase any visible pencil marks.

Lettering is fun, whether you follow the steps above or feel adventurous, jump right in with a pen and go to town. Have you played with lettering on your own or in the classroom? Let us know in the comments below.


Leave a Reply