Make the most of your art time with this two-for-one project. Students will learn the basics of a monotype print and making shrink art. Follow the simple instructions below to get started.
Step 1
Using a water-soluble medium, such as water-soluble crayons or pencils, have students draw their images directly onto a piece of shrink art film, rough side up. We like using Grafix Sanded Shrink Film. There are 50 sheets—cut them in quarters and you’ve got enough for 200 shrink art projects!
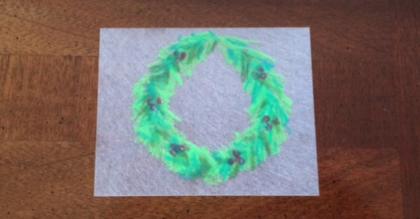
Original drawing on Grafix Sanded Shrink Film
Step 2
While your students are drawing on the shrink art film, you’ll need to soak a stack of blank watercolor paper (90lb or greater) in a baking pan of water for about 15 minutes or until it’s completely saturated. This may take a little longer for heavier weight paper.
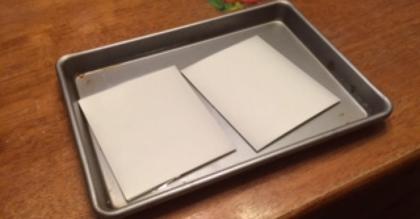
Watercolor paper soaking.
Step 3
Remove your watercolor paper from the bath and blot with a paper towel to remove pools of water.
Step 4
Place your shrink art film image-side down onto your blotted watercolor paper, then cover with a sheet of scrap paper so you have a sandwich: scrap paper (on top), shrink film (in the middle) with image face down, and soaked paper (on bottom).
Step 5
Burnish the top of your sandwich with a burnisher such as a bone folder or wooden spoon, to transfer the image from the shrink art film to the wet watercolor paper. To check if the image has transferred, carefully peel up one corner of the film and take a peek. If the image has not complete transferred, carefully place the shrink art film back on top of the watercolor paper and continue to rub. If the image did transfer, remove the scrap paper and completely peel up the film.
If you’d like to make multiple prints from the same drawings, your students will simply need to re-color their original images on the shrink art film and repeat steps 4 and 5.
Remember that each transferred drawing is a mirror image. If your students want to incorporate words into their images, they’ll need to write them backwards so they’re right-reading when transferred.
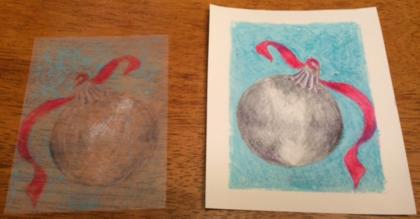
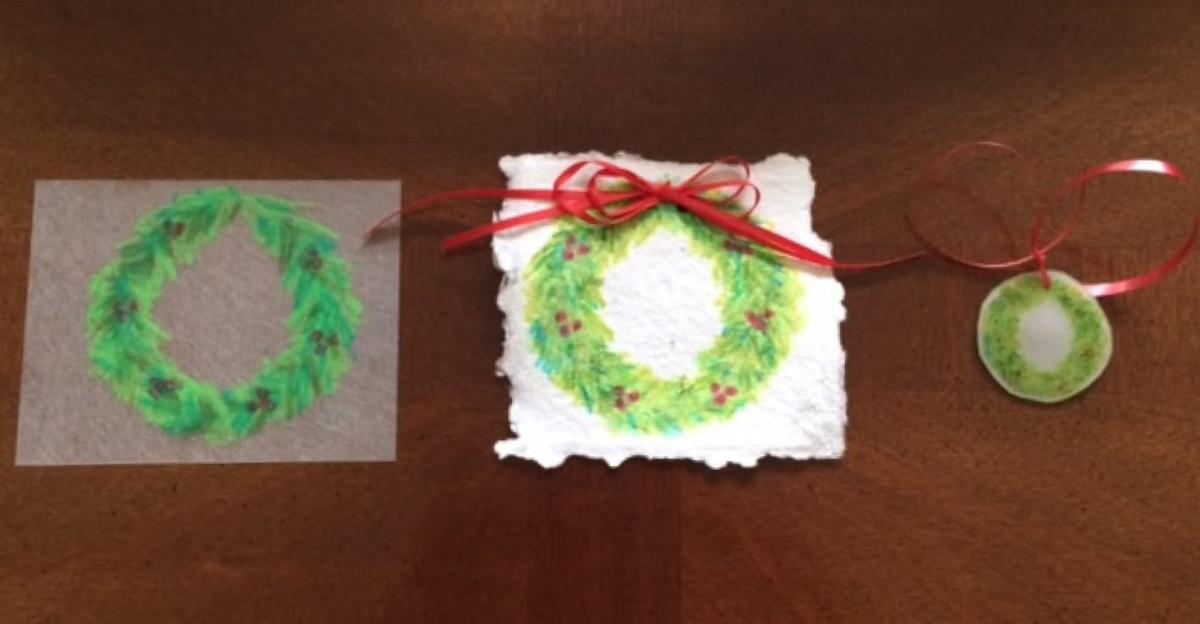
Original shrink film image (left) transferred to paper (right)
Step 6
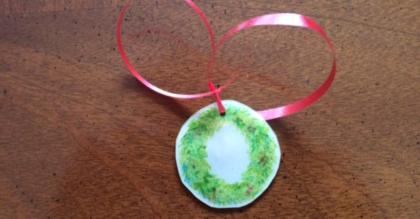
Now it’s time for part two – shrink art! If you’re going to turn your shrink art into an ornament or pendant, you’ll need to punch a hole in the shrink art film BEFORE you put the film in the oven. We suggest using a 1/4” hole punch—once the film shrinks, the hole will shrink, too, so it needs to be big enough for an ornament hanger, ribbon or necklace.
Original drawing on Grafix Sanded Shrink Film
Step 7
Preheat an oven or toaster oven to 250 degrees. Place the shrink art film onto a cookie sheet and put the sheet in the oven. Your shrink film will begin to fold onto itself, but don’t worry! The film will eventually fold back down and if it doesn’t, you can pat it flat with a spatula. When all of the film is flat, it’s time to remove the cookie sheet and let it cool. The colors on your students’ finished shrink art should look very similar to those in their prints!
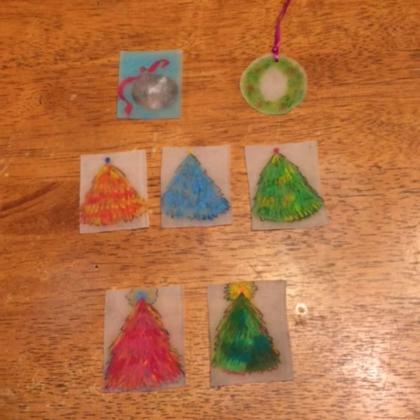
Shrink art fresh from the oven
There you have it! Two projects in one! Do you have any shrink art tips or favorite 2-for-1 projects? Let us know in the comments below.
Do you have any shrink art tips or monotype tips? Let us know in the comments below.


Leave a Reply