The thought of hosting an art show may seem overwhelming, but the tips below may alleviate some stress. Your students will feel like superstars and their families and friends will enjoy seeing their work. Here are three important steps to making your student art show a success.
Table of contents
Three Important Steps to Hosting a Successful Student Art Show
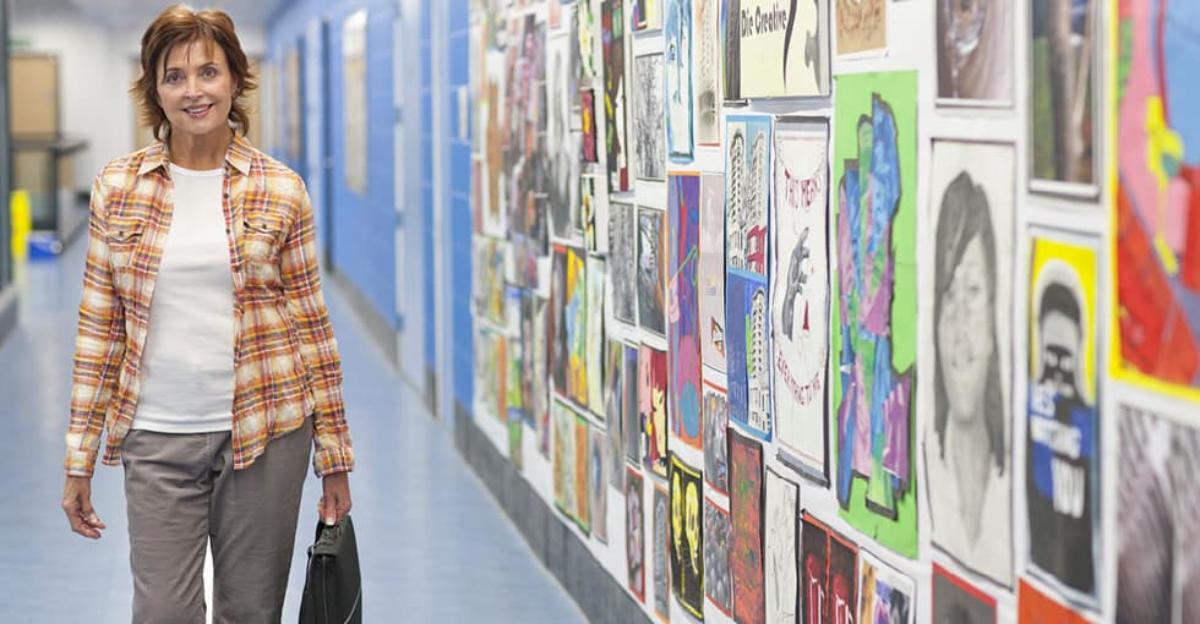
Your students have worked so hard and learned so much this year and their pieces really show their progress! Why not highlight their dedication with a student art show? March is Youth Art Month and a great time to display your students’ works of art.
Step 1: Select & Collect the Art
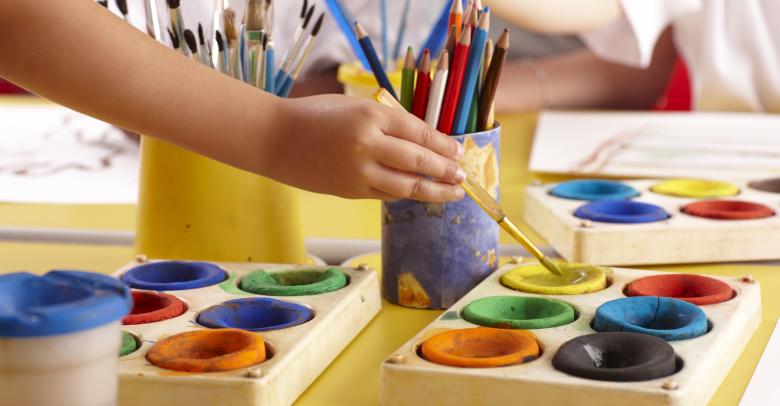
Let’s start with the most important piece—the art! You probably have a few pieces in mind; those that really impressed or inspired you, showed marked improvement, or those of which the student was particularly proud.
You’ll also want to display the best pieces for each major project you worked on in class, to show the breadth of your program and to offer your guests a bit of variety. And, you’ll want to be sure that each student has at least one piece represented in the show.
Try and remember to take pictures of students as they are working. The in-process photos are a great addition to the showcase.
The best way to make sure you’ve done both is to set up labeled areas for each project and print a master list of students. As you review your students’ work and select pieces for each project, be sure to check the students off of your list. Undertake this review as early as possible to give any students who do not have a completed piece to display in the show time enough to finish one.
Step 2: Find the Right Art Show Location
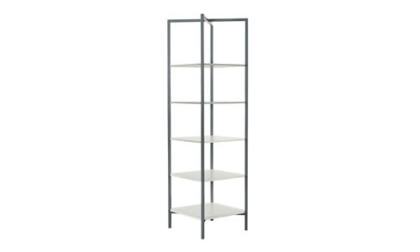
Next, determine where your show will be. If you’re lucky enough to have an art room big enough, that’s one option. Otherwise, consider your school’s library, multi-purpose room, gymnasium, cafeteria, or even hallways. You can also look outside of the school to the public library, district office, or even city hall.
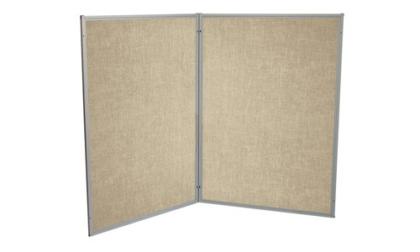
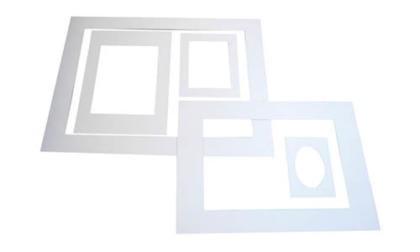
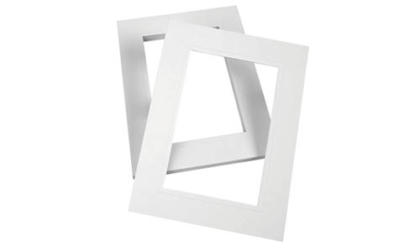
A location with plenty of empty walls you can staple into is ideal, but you can also make good use of open floor space with art display panels. Either way, you’ll want to mat each piece you’re displaying with a professional-looking, pre-cut mat. You’ll also want to include a label with the artist’s name, grade and name of the artwork—your school secretary may be able to help print the labels. Then, simply staple, tape or tack up the matted pieces. Matting the art and creating the display panels are perfect student projects and can be begun weeks ahead of your show date.
The thought of hosting an art show can seem overwhelming, but the tips below may alleviate some stress. Your students will feel like superstars and their families and friends will enjoy seeing their work. Here are three important steps to making your student art show a success.

Three-dimensional work will require tables for display. A simple cloth—black or colorful—adds a touch of elegance and draped boxes and crates of varying heights are a nice way to add some visual interest to your 3-D display.
If you’ve got the time (and the bandwidth), consider projecting a looping digital slideshow on an open wall. This is a great way to feature art that’s not physically included in the show.
Step 3: Inform the Community About the Show
After you’ve put in so much work you want to be sure your event will be well attended! One way to make sure you get as many visitors to your show as possible to is to team up with another well-attended school event, such as a school- or district-wide celebration of the arts, the spring concert, or open house.
Does your school stay in touch with its alumni community? Consider creating a showcase for alumni artwork right alongside your students’ work.
Whether your show is part of a larger event, a one-night affair or stays up for a week or a month, you’ll want to use every communication tool available to you to announce the show to the parents and to the community at large. If your school utilizes a phone recording system, request that your event is included several times in the weekly recorded messages; likewise in your district’s digital notification system.
Be sure the event is posted on your school’s online calendar and on any applicable social media pages. If the event has been held in previous years, include photos. If you’ve got access to parent email lists, send an email announcement. And don’t forget the good old fashioned flyer. Hype your students up as well—get them excited about showing off their work so they’re sure to push the show to their families.
Also be sure to include some signage directing your attendees to the show, both outside the building and in. This is a great student project, if you’ve got the space in your curriculum.
Three-dimensional work will require tables for display. A simple cloth—black or colorful—adds a touch of elegance and draped boxes and crates of varying heights are a nice way to add some visual interest to your 3-D display.
If you’ve got the time (and the bandwidth), consider projecting a looping digital slideshow on an open wall. This is a great way to feature art that’s not physically included in the show.
Share Your Star Students’ Artwork
We love student art! Give your star students an opportunity to shine by submitting their artwork to be considered for the next Sax catalog cover. Original artwork from students of all grade levels is eligible and the online submission process is simple.


Leave a Reply