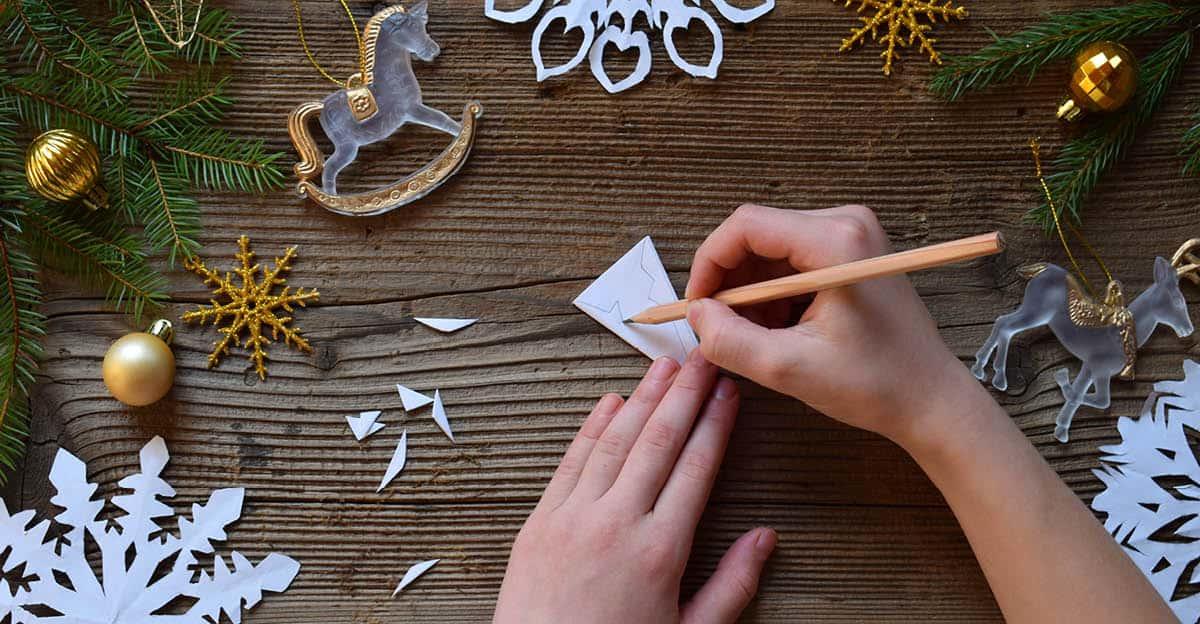
With winter comes more time indoors, and getting creative during the chilly months is great for students of all ages. These simple winter craft projects can help younger kids work on their fine motor skills, and you might end up with some really cute winter décor. Some easy snowflake and snowman art projects for kids should definitely be on your to-do list this winter season.
Winter Themed Craft Ideas for a Classroom Celebration
Putting together a celebration for the beginning of the winter season, before the winter break, is a fun way to get students feeling creative. The weeks before break can be tough, but use a winter party to give students something to look forward to.
5 Snowflake Winter Craft Projects for Kids
Get crafty this winter. Snowflakes are the perfect subject for some winter projects:
Puzzle Piece Snowflakes
Take a few puzzle pieces and turn them into adorable decor or hanging ornaments. Start by cutting out a small disc of cardstock and then glueing 3 puzzle pieces around it. Once those three dry in place, glue another puzzle piece between each of the first three, making 6 total pieces. Once all of the glue has dried, you can paint or decorate the little snowflake. The last step is to tie or glue a ribbon loop to the top for hanging. See additional instructions & images here.
To create puzzle piece snowflakes, you’ll need:
- 6 small puzzle pieces
- Cardstock
- Craft glue
- Paint
- Paint brushes
- Ribbon
Borax Crystal Snowflakes
This simple craft is a great way for kids to mix a little science into winter craft time. It’s a great opportunity to talk about the differing states of liquid and solid, and how crystals are formed. Create a snowflake shape using pipe cleaners (some may need to be cut). Attach a piece of ribbon or fishing line to two ends of the snowflake and tie them to the handle of a wooden spoon. The pipe cleaner snowflake should hang horizontally from the spoon. Place the spoon with attached snowflake over the bowl and make sure the pipe cleaners sits in the middle without touching the sides of the bowl.
Boil two cups of water and add 1/3 cup of borax, stirring until it’s dissolved. Pour this mixture into the bowl with the snowflake. Repeat until the pipe cleaners are completely covered by the solution. The final step is to allow the bowl of solution to sit in a level place for a few days while the crystals form. Once crystals are formed, remove the pipe cleaner snowflake and allow to dry before hanging. See additional instructions & images here.
To make borax crystal snowflakes, you’ll need:
- Pipe cleaners
- Borax laundry soap
- Scissors (or Wire cutters)
- Fishing line
- A large glass bowl
- A wooden spoon
Yarn and Paper Plate Snowflakes
This simple craft is a fun way to practice fine motor skills and make cute winter-themed décor for the classroom or at home. Have kids start by drawing a symmetrical snowflake onto the “eating side” of the paper plate. Draw a few examples for them to use as inspiration for creating their snowflake design. Once they have drawn their snowflake, have them carefully poke holes with push pins through the plate whenever two lines intersect and at all the snowflake tips.
Next, using a very long piece of yarn, have students sew their snowflake design onto the plate using the holes they created as guides for where the string should go. The “eating side” of the plate may not look as nice, but tell them to focus on recreating their design on the back of the plate using the yarn. It’s okay to go through each hole multiple times to finish the design.
The final step is to trim any excess yarn and then tape the end down. Hang the plates as they are, or tape two together so that the design sides face out. See additional instructions & images here.
To make yarn & paper plate snowflakes, you’ll need:
- Thick paper plates
- Push pins
- Steel yarn needles
- Yarn
- Scissors
- Tape
Crayon & Wax Paper Snowflakes
Another science activity for winter: kids of all ages can use this winter craft project to work on fine motor skills and experiment with color mixing. Start by having each artist choose a few crayon colors to use for their snowflake. They will need to peel back the paper and then use a crayon sharpener or plastic knife to make shavings.
Once the shavings are made, tape a piece of wax paper down onto the table and have them sprinkle their crayon shavings onto the center until it is fairly well covered. Cover the taped-down wax paper with another sheet of wax paper with the shavings sandwiched in the middle. Remove the tape and slide the two sheets onto an ironing board. Place an old rag or t-shirt under the wax paper and put another on top. Set your iron to medium heat.
Before ironing, ask the kids what they think will happen to the wax paper and crayons. Also discuss the dangers of dealing with a hot iron and ensure they are safe from the ironing board.
Lift up the fabric and wax paper to reveal how the wax and crayons melted together. Then, once cooled, have older kids cut snowflakes from the most colorful parts of the wax paper. Young artists can draw a snowflake for you to cut out and then help you to add the ribbon for hanging. See additional instructions & images here.
To make crayon & wax paper snowflakes, you’ll need:
Egg Carton Snowflakes
This simple craft makes a really cute and simple garland or hanging décor. Older kids can help with the cutting, but if your artists are younger, have them wait to do the smashing and decorating. Start by cutting the bottom of the egg carton so that all that’s left are the little cups. Then cut slits around the cup, leaving the center of the bottom part un-sliced.
Put the cups with the slits down on a sturdy surface and flatten the cups with your hand. Smashing the snowflakes is fun for younger kids. Once they are smashed flat, decorate them with paint, glitter, etc.
To make them into a garland, wait for all the decor to dry and then use a hot glue gun to attach the individual flakes to a long piece of ribbon or twine. See additional instructions & images here.
To make egg carton snowflakes, you’ll need:
- Cardboard egg cartons
- Scissors
- Paint
- Paint brushes
- Glitter (optional)
- Ribbon or twine
More Holiday Arts & Crafts Inspiration
Looking for more ways to get crafty? Check out the other blogs on the Holiday Arts & Crafts tag page or visit the Art category page to find great lesson plans and instructions. Also be sure to head over to the online store to get stocked up on all the arts & crafts must-haves for any project.



Leave a Reply