Drawing pastels are unique in that they are extremely pigmented, blendable, and can be used to create paint-like effects without the use of water. However, there are specific techniques that will help your students to explore the use of drawing pastels with more intention and confidence.
Introducing Chalk Pastels in the Art Classroom
Chalk pastels, as opposed to oil pastels, may be easier for students to control and allow for more detailed drawing (without losing the ability to blend and layer). Chalk pastels also create more dust and may break and crumble more easily with added pressure.
The variations from soft chalk pastels to harder chalk pastels affect the vibrancy of the pigment, their blendability, and their likelihood to crumble and break.
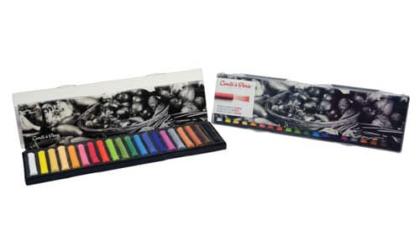
- Soft chalk pastels: more vibrant color, very blendable, likely to crumble with pressure, excellent for layering.
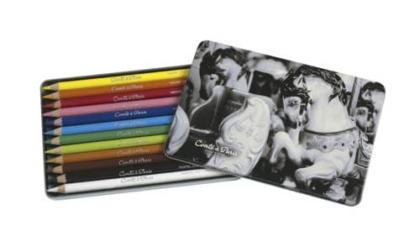
- Hard chalk pastels/pencils: blendable, less likely to break/crumble, excellent for layering, better for creating fine details.
Because of the dust created when using chalk pastels, it’s important to keep a damp towel nearby to clean up the excess dust and to clean off hands after blending. Check out this article for more tips on keeping the art room clean while using pastels.
5 Basic Soft Pastels Techniques for the Art Classroom
There are several ways in which students can create with and explore the use of chalk pastels. Experimenting with these techniques will help them to develop confidence and to create art pieces with more depth and complexity.
Drawing with the End:
Using a pastel like a pencil, drawing with the end, results in a defined and decisive line. Varying the pressure you’re using will alter the line’s thickness and vibrancy.
Using the Edge:
Laying the pastel on its side to use the edge creates a larger block of color. This is an excellent way to add color to a larger area quickly, and can also highlight the texture of the pastel paper.
Hatching & Cross-Hatching:
This is a common technique and works best with harder pastel pencils and sticks. Hatching is the use of fine parallel lines to add color or shading. Cross-hatching is the addition of angled or perpendicular lines.
This method is especially useful when using pastels because the hatch marks can either be blended together to cover a large area with color or can be left unblended to add loose, visual texture.
Blending:
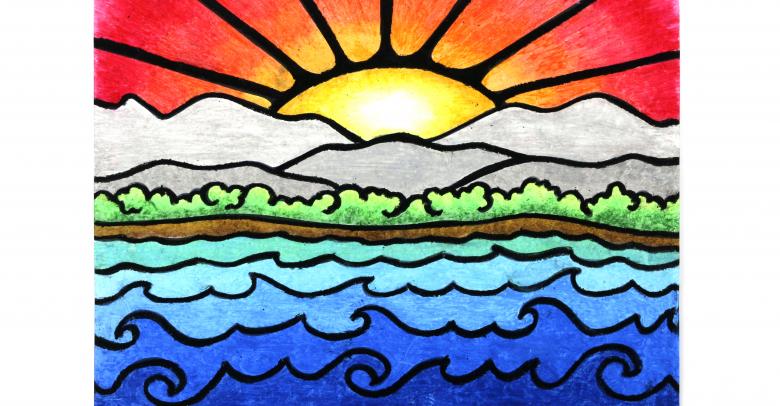
Pastel pigments can be spread and mixed together once placed onto paper. Colors near to each other can be blended (through the use of a finger or other tool) to mix a new color or to create a smooth transition between the two.
Scumbling:
Pastels are known for being exceptionally simple to layer. Scumbling is the process of dragging a pastel softly over the top of a previous pastel application, giving the image depth and visual texture.
Find More Art Lesson Plans & Inspiration
If you’re looking for more Art 101 help for introducing new tools and media to students, be sure to visit the Art category page and see what’s new. The Art 101 and Art Lesson Plans tag pages are full of engaging ideas and inspiration for you to carry into your art room this year.
Also take a moment to head over to the School Specialty online store to browse thousands of high quality, teacher-favorite art room tools and supplies. You’ll find everything you need to take on your biggest projects and lessons.



Leave a Reply