We have a teacher to thank for the multimedia collagraphy technique we know today. Glen Alps, a professor of art and printmaking at the University of Washington, taught from 1947 to 1984. During his tenure as an art teacher, he coined the term collagraph to describe this collage and printmaking technique he had been using for years. This collagraph art lesson plan explores that process and how your students can make their own!
Collagraphy Process
Collagraphs combine several artistic processes. Simple enough for young children yet satisfying for the experienced artist, the process begins by identifying the artist’s subject. It could be a flower with multiple petals and a stem, for example. Next, the artist identifies various shapes within that subject that could be compiled, via the collage process, to create the collagraph.
Creating Textures
Now comes the fun part. The artist searches for materials to cut into those shapes while providing interesting texture to the piece. Almost anything goes, provided the material does not stand more than 1/8th of an inch deep. Perhaps the artist will create the petals of the flower using ovals cut from card stock, felt, lace, or foam. Or the artist might decide to use real petals and leaves in their piece. Once the collage materials have been compiled and assembled to create the desired image, they’re glued onto a printing plate made of cardboard or heavy paper stock.
Finishing Touches
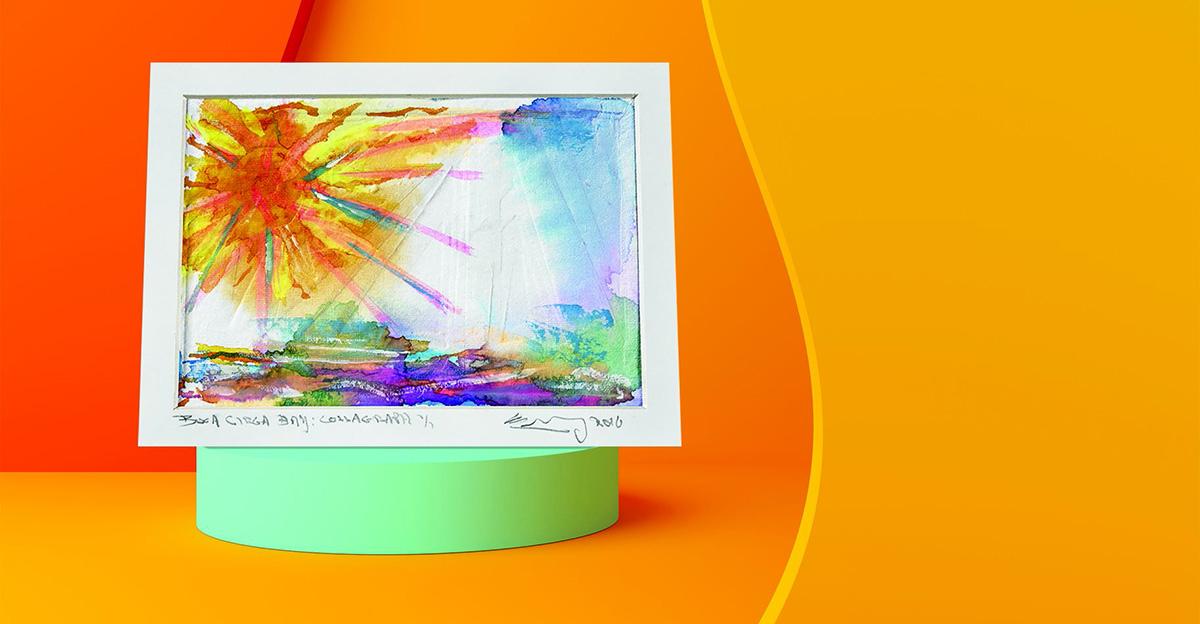
The entire piece is then varnished or shellacked. When dry, coat the piece with a thin coat of ink and press with another blank page to create an embossed print. This print, in turn, can be enhanced further with additional layers of hand-painted watercolor or other mediums.
Collagraphs combine the creativity of collaging with the ins and outs of printmaking and the freedom of painting to make the perfect classroom project.
Colorful Collagraph Lesson Plan
Introduce your students to the collagraph process with our Colorful Collagraph Art Lesson Plan. Follow the link above to view a complete lesson plan for this project. It includes images, step-by-step directions, and a materials list. Suitable for grades 6 through 12.


Leave a Reply