The seemingly simple process of collage can result in some truly spectacular works of art. Collage, which literally means to bond or glue, emerged in the early 20th century. Artists like Pablo Picasso assembled everything from torn newspapers to shredded photographs into statement pieces. With our Handmade Paper Collage art lesson plan, you’ll guide students through this expressive process of collage.
Collage in Modern Art
Collage continues to thrive today and is often used as an expression of political commentary. Current artists like Jesse Treece and John Stezaker exhibit their multimedia works in galleries around the world. Although much of the interest in collage comes from the artist’s selection of materials and unique assembly of colors, sizes, and shapes, the various fibers found within the handmade paper often used for collaging also contribute to the intrigue.
Handmade Paper Collage Lesson Plan
To begin, you’ll discuss the various fibers used in the process of papermaking, examine the works of famous collage artists, and review the basic principles of design that come into play. These principles include the size, shape, weight, texture, and color of each piece, as well as the composition of the entire project.
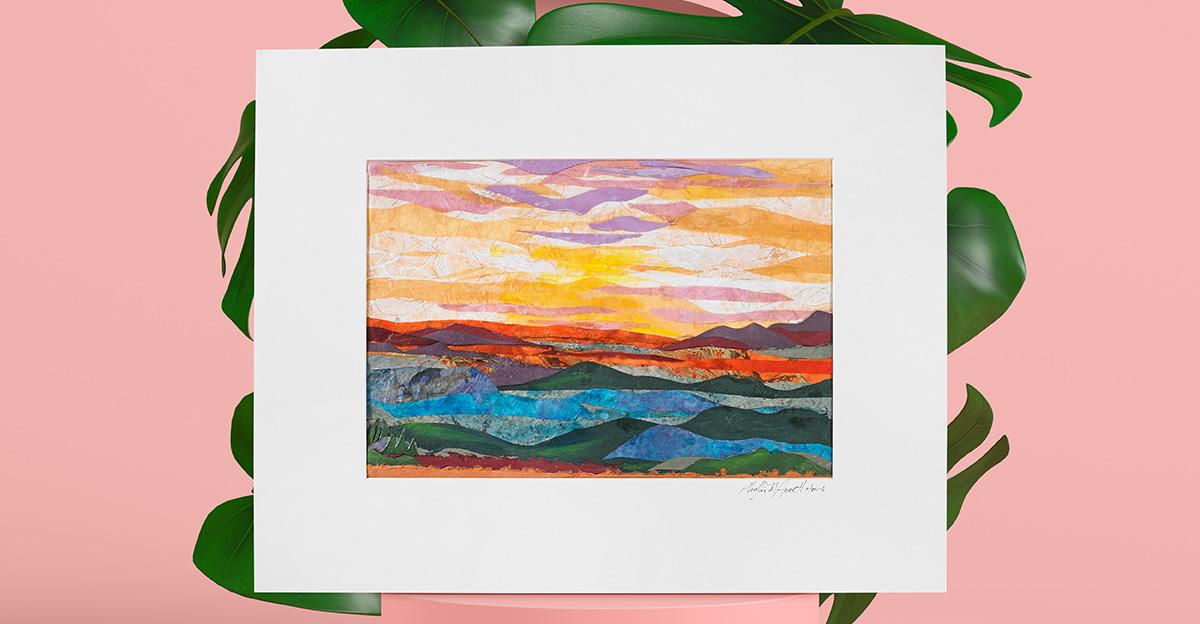
When you’re ready to begin, students decide to collage a seascape or a landscape and create a sketch to follow. Then they’ll cut handmade paper into shapes, arrange, and rearrange until satisfied. They’ll glue their pieces into place on an illustration board or mat board, beginning with the sky and working forward through the background, mid-ground, and foreground. A coat of varnish will make their work shine beneath the mat and frame.
Handmade Paper Collage Lesson Plan
Follow the link above to see the full lesson plan, including step-by-step instructions, a complete materials list, and a photo of a finished piece. This mounted and framed project is perfect for your next student art show!

Leave a Reply