Humans have been dying fabric for nearly 10,000 years. In fact, the art of adding color to textiles occurred almost simultaneously with the advent of textiles themselves. The first known evidence of dyed fabric comes from Anatolia (Asia Minor), where scientists discovered the remains of a red dye, possibly created by an extraction from clay, dated somewhere between 5,000 and 10,000 years ago.
Early dyes were plant or animal-based and used to stain a material. Beginning in the 19th century, scientists began manufacturing artificial dyes in a broader array of color options and with more “staying power.” The first artificially created dye is attributed to William Perkin, who concocted his shade of “mauveine” (purple) dye in 1856.
There are two different ways garments are dyed using artificial dyes. The first is direct application—the submerging of a completed garment into a liquid version of the dye. The second is yarn dying, where the yarn used to create a garment is dyed and then used to produce the garment.
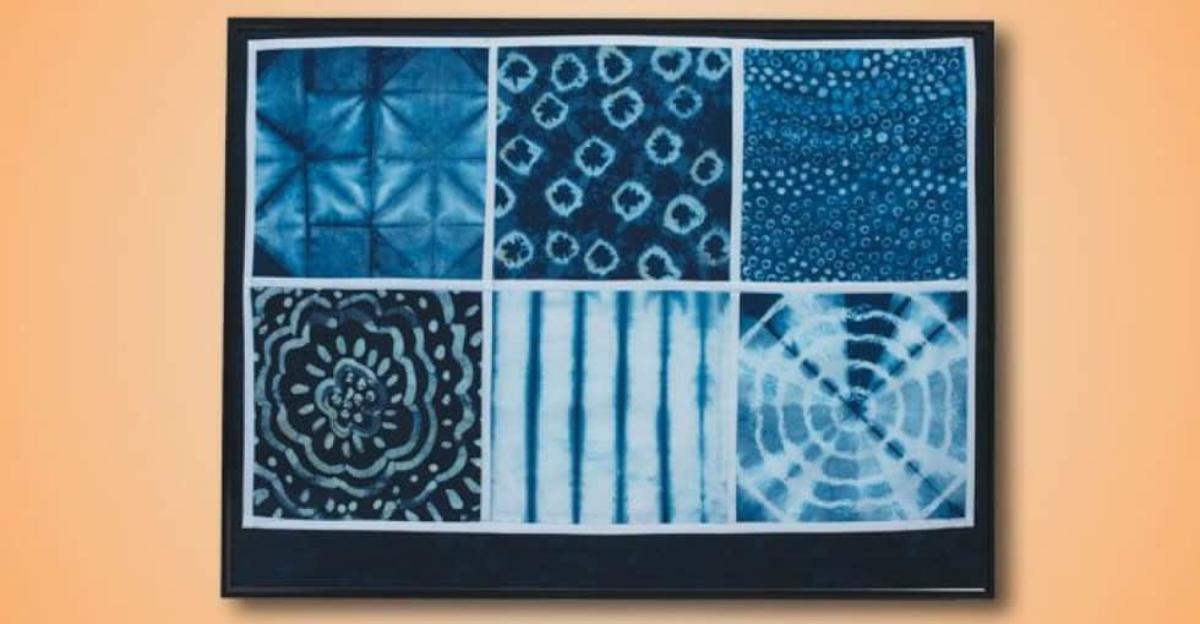
In addition, there are various resist-dying techniques. Using the batik process, wax is applied to the fabric in specific patterns before dying, then removed (and sometimes reapplied and redyed), leaving patterns of undyed color on the fabric when dry. A similar technique, the Japanese Tsutsugaki rice paper resist, uses a paste made of rice to prevent the dye (usually indigo blue) from covering certain parts of a fabric canvas.
There are also different bound resist techniques, including the African Adire stitching and Japanese Shibori tying methods. Originating in Nigeria, the Adire method involves twisting or tying the fabric before dying or stitching raffia in patterns on the fabric before dying and then removing it once the fabric has dried. Similarly, Japanese Shibori requires the folding, twisting, and binding of material, leaving a white resist pattern after dying.
With the Indigo Resist Dye Sampler project, students will research not only the history of Indigo blue but also the various methods of resist dying outlined above. Then, they’ll choose a few of these methods to try on small, sampler-sized pieces of muslin. When dying is complete and dry, samplers may be stitched together, quilt-style.
Download the complete lesson plan for this project, including images, step-by-step directions, and a materials list!
For Grades 6-12.


Leave a Reply