Congratulations! You’ve got your canvas, paints, brushes, and palette—you must be ready to paint. Not so fast! Like priming a wall before you paint your home, there are important steps to prepare a canvas for painting.
Stretching Your Canvas
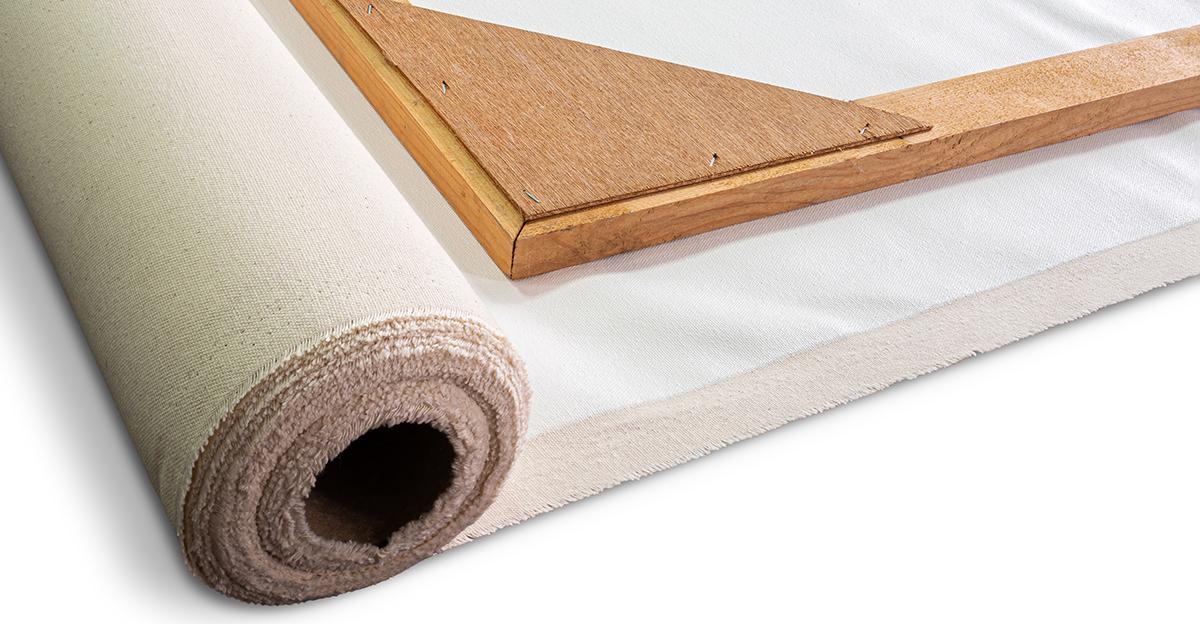
If you plan on painting many canvases, purchasing raw, unprimed canvas and stretcher bars may be a more economical solution in the long run. But you’ll need to stretch your fabric into a paintable surface. Here’s how to stretch and prepare a canvas:
- Join the four corners of your four stretcher bars on the floor, pressing them to join.
- Use a right angle to check that each corner is square, using a mallet to adjust the bars until all four corners form right angles.
- Roll out the canvas and lay your bars on the fabric, leaving about 2-1/2 inches on each side, and cut.
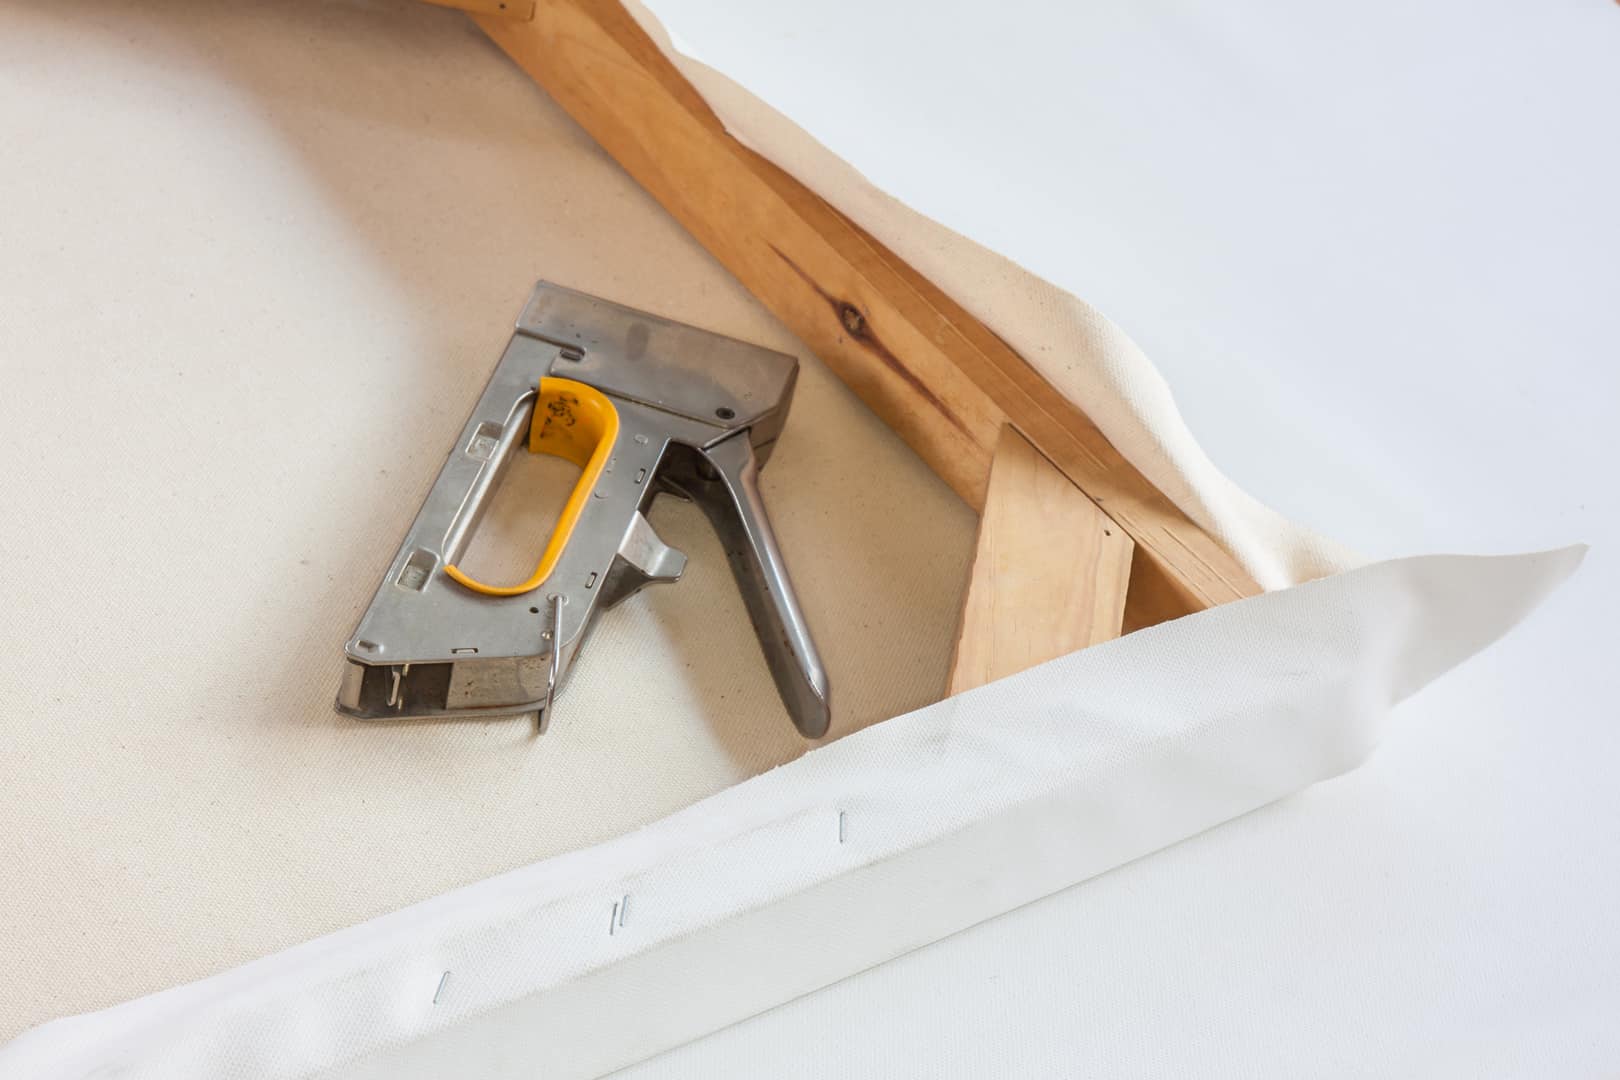
- Staple the fabric to the center of the top bar, pull the fabric taut, then staple it to the center of the bottom bar.
- Rotate and repeat on the other two sides of the canvas.
- Continue, working from the center to the corners of each side, adding staples 1 inch apart, and pulling the opposing sides taught. Finally, fold over the corners and secure them with staples.
You may also choose to purchase pre-stretched canvas on cardboard or wooden frames.
Priming Your Canvas
Whether painting with acrylics or oils, if you preparing an unprimed canvas, you’ll need to prime it. Priming helps the paint adhere to the canvas and creates a smoother painting surface. But more importantly, priming protects the fibers of the canvas and enables it to tolerate more layers of paint for a longer-lasting art piece.
Different altogether from underpainting, priming your canvas with gesso is the final step before painting:
- Choose your gesso color. Gesso is generally available in clear, white, and black, but you may be able to find it in other colors. But keep in mind that any gesso color other than clear will affect your paint colors and the final outcome of your piece.
- Wet a brush, sponge, or roller and pat dry. Dip into the gesso, cover your canvas with a thin layer, and allow it to dry for at least an hour. Wash your brush thoroughly.
- When your first layer is dry, check for bumps and ridges. Use fine sandpaper to smooth the surface of the canvas and brush any dust away with a clean cloth.
- Turn your canvas 90 degrees and paint another smooth layer of gesso. Wash your brush thoroughly and allow your canvas to dry overnight. Sand and brush again, if necessary.
- The more layers of gesso you use, the more absorbent your canvas becomes. When you’re ready to paint your final layer of gesso, use a decorator’s brush to apply even, parallel strokes starting at the top of the canvas and finishing at the bottom. Wash your brush and allow the canvas to dry thoroughly.
- Sand any bumps or ridges, brush dust away with a clean cloth, and you’re ready to begin painting.
Do you use canvas fabric or pre-made canvases with your students? Do you involve them in the stretching and priming process? Let us know in the comments below.


Leave a Reply